Creating the Theseus Case
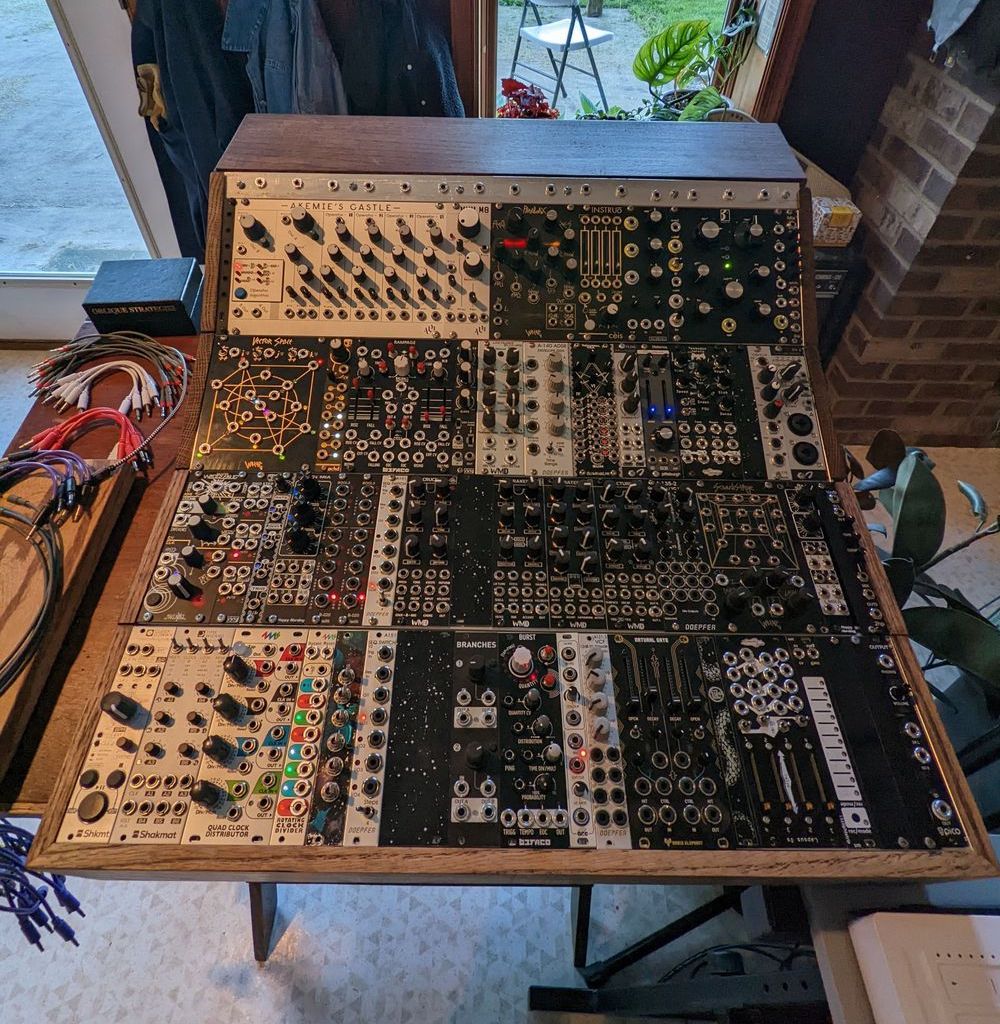
finally my own eurorack cheeks
this is definitely one of the largest projects I've taken on in a while, maybe it just feels that way because I messed up so much. Either way, there's a lot here – have a ToC
Plan: Rows
It was only a matter of time – after so much time spent with my Case From Lake I decided I needed a case that better suit my style, but more importantly one that I made myself.
So starting with what I had been using for so long, I needed to decide what to change...
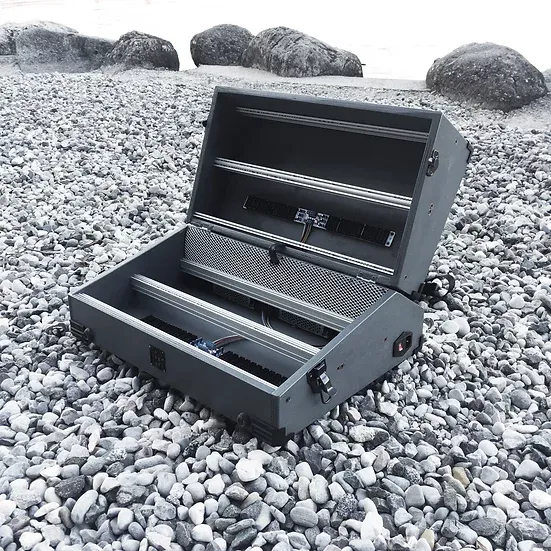
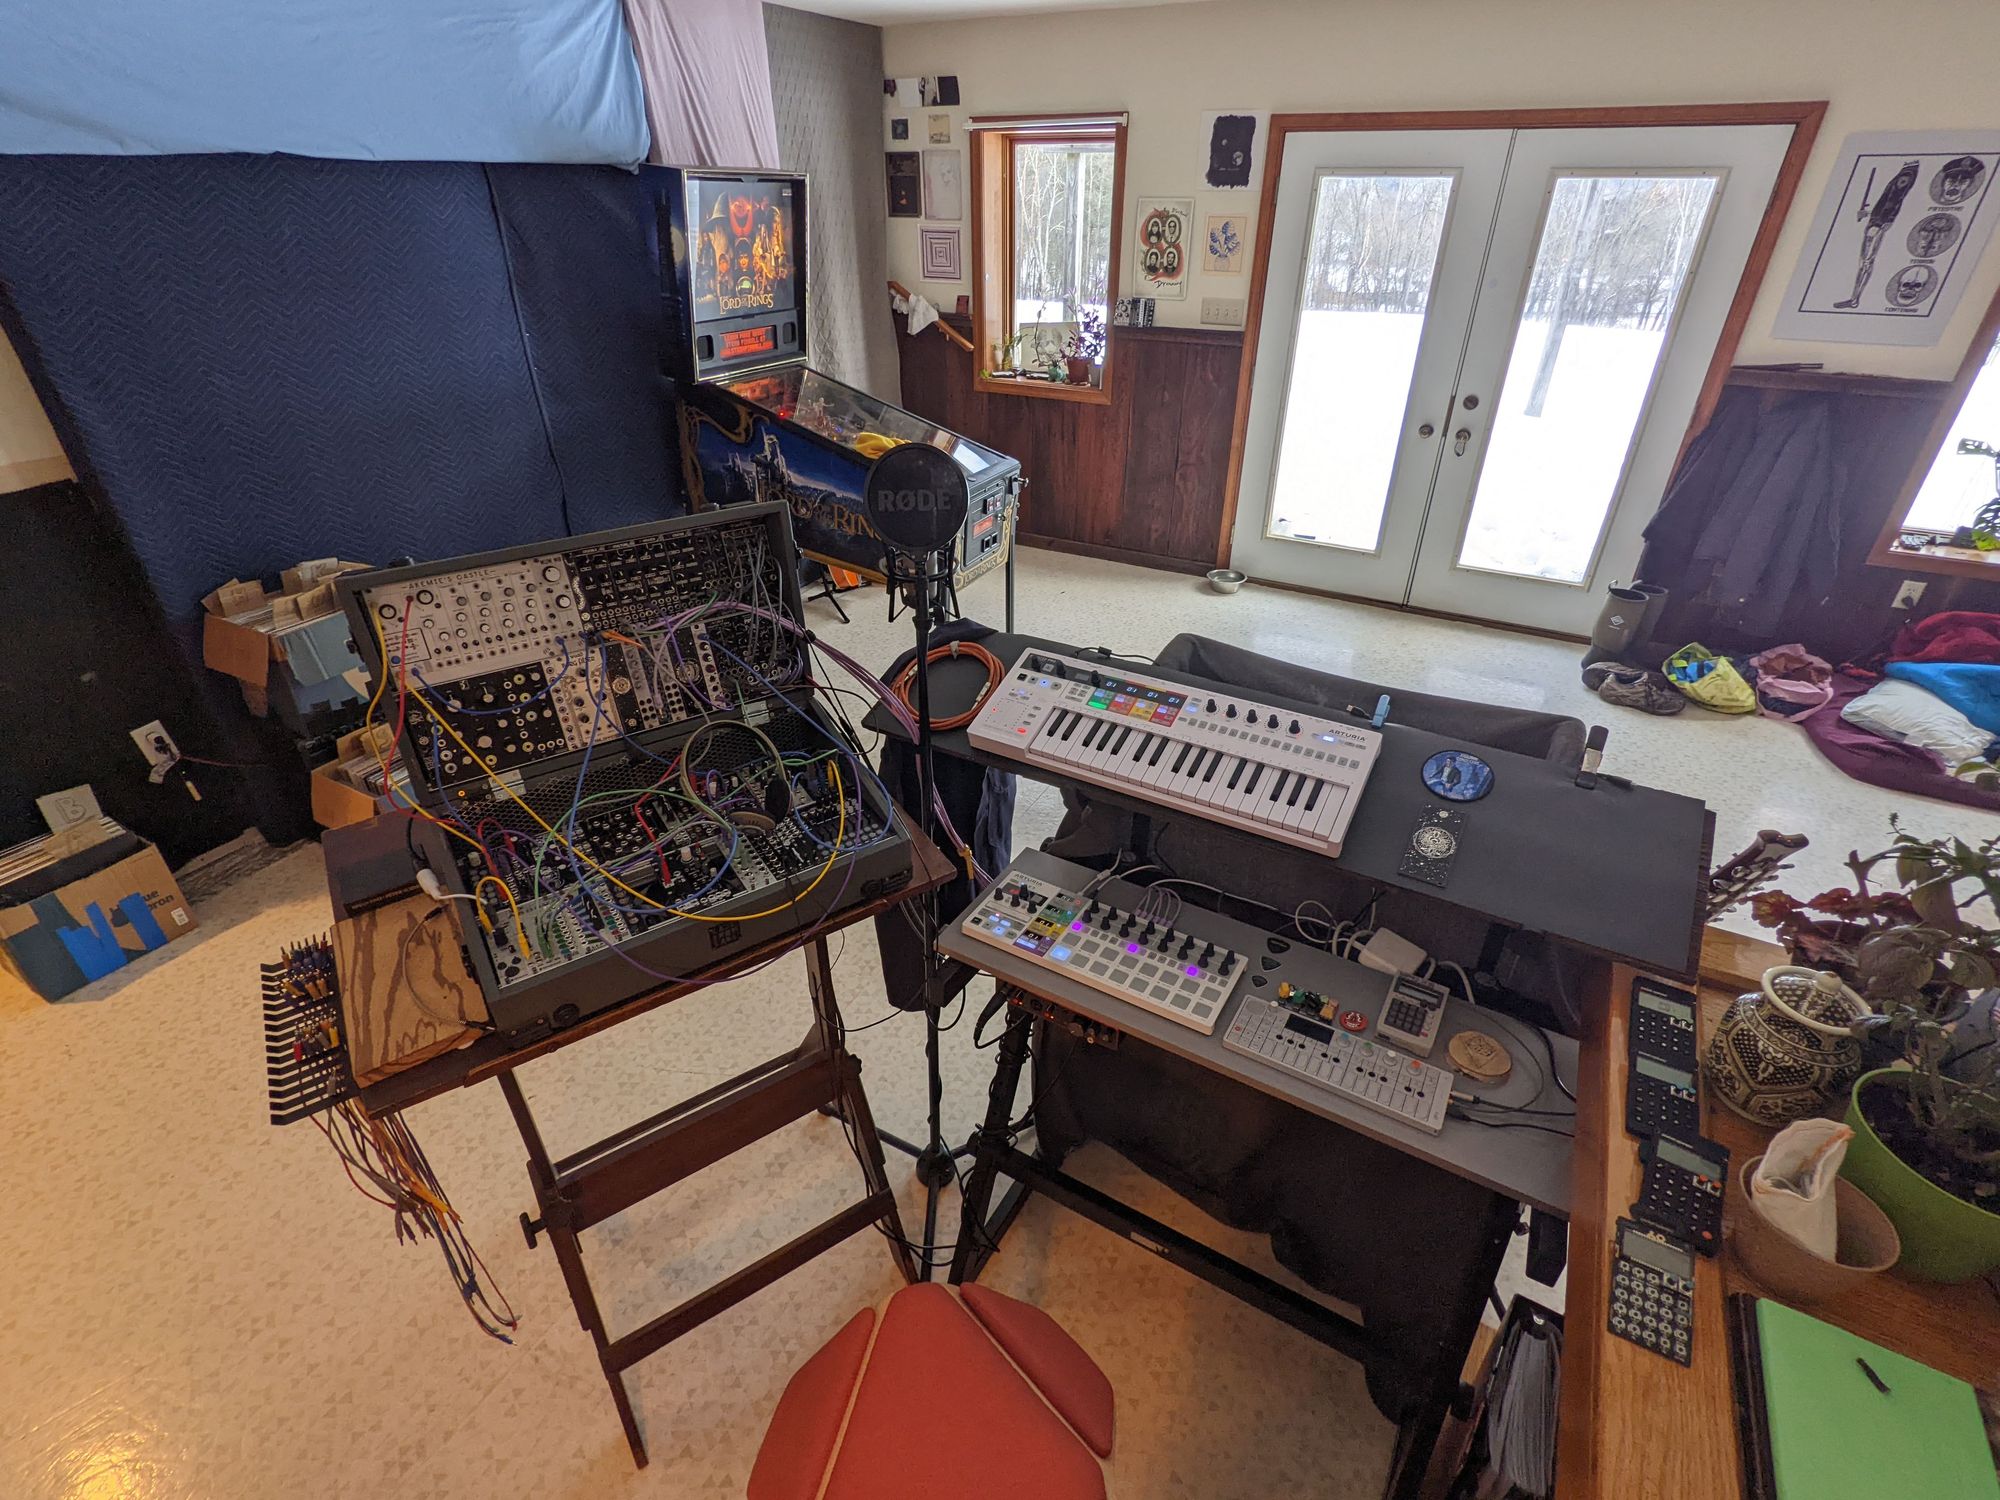
What I liked about the Case From Lake was the size – 104 HP 12U felt right, I could cram a lot in there without having to use too many teeny modules but it still feels like I have to make some hard decisions to make a useful & somewhat ubiquitous rig. A fine mix of creative freedom and limitations.
I did not like how deep the modules were inset from the wood frame of the case though – this is surely an intentional decision to allow this particular case to fold shut and remain patched so there's a good reason for it, but like most synth-folk I don't get out much – especially not with this thing. It made patching or wiggling near the edges of the rows difficult and ended up really dictating how I laid everything out because of that. With the new case I decided I wanted to get as flush as possible to the frame with the rails/modules to avoid this (I won't be making it foldable at all anyway).
I planned on using Synthrotek Rails and Brackets so that I could mount the rails on the inside of the case, another thing I didn't like about the Case From Lake was it's build quality/exposed hardware. Using these brackets and my table saw, though, I figured I could make a very small dado cut and 'inlay' the brackets into whatever wood I ended up using.
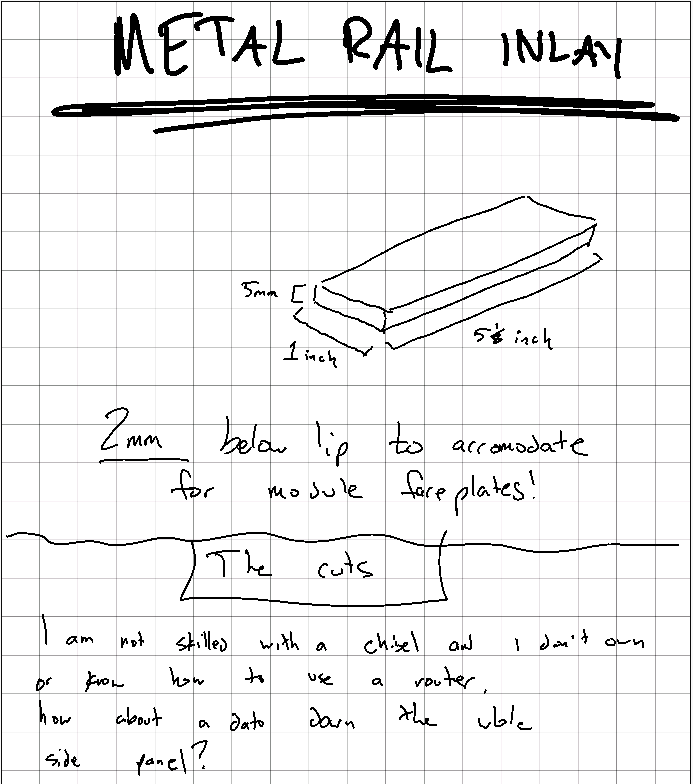
Then I started planning the actual rows and cuts I would need to make so that I could but some lumber. A lot of these dimensions wouldn't end up being final as I switched thickness of wood at some point (we'll get to that), but the basic plan was 2 rows at 0 degrees, then one at 15 and 30.
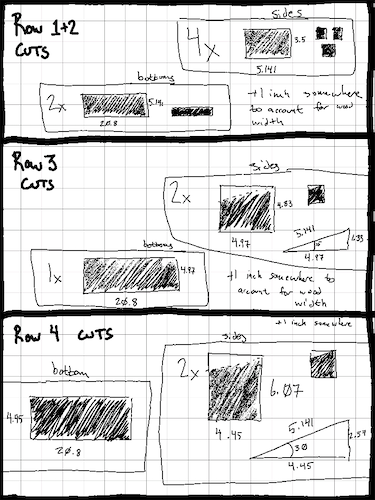
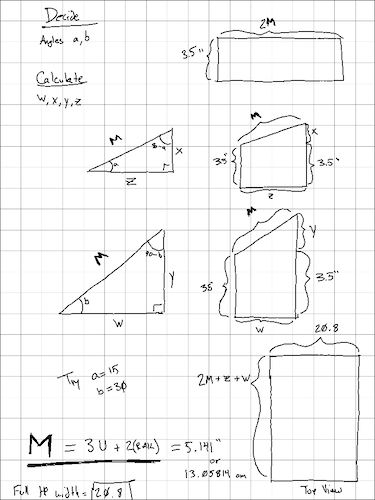
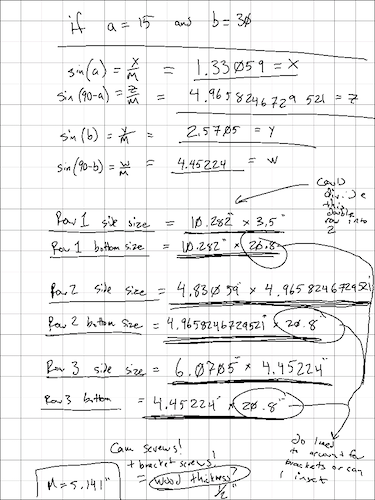
All this note-taking served as a good planning stage and to make sure I had thought of everything before I started buying lumber, what with THE ECONOMY and all.
I also intended the case itself to be 'functional' and 'modular' in its own way – each row would have its own power bus and interlocking system so that rows could easily be rearranged or swapped for different angles/layouts if (when) I decide to make more changes – a lot of this work helped me turn rows plans into 'functions' I could just calculate for a new row I might want in the future.
Build: Row 1 (attempt 1)
Decided to go with Red Oak, mostly because I wanted a hardwood and that was the most price effective option to be honest. Began with 1" thick to allow myself some tolerance room since I am not an experienced wood worker at all.
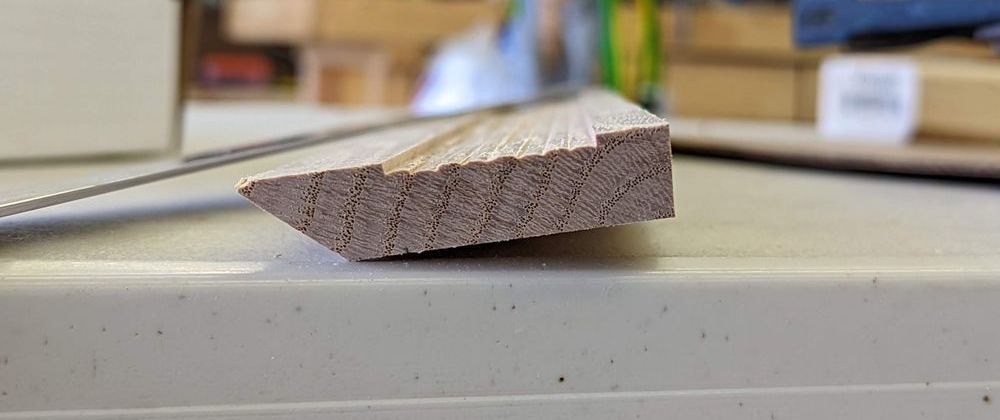
The first thing I wanted to prove was doable was the dado cut for those rail brackets – definitely happy I went with a hardwood: the top 'lip' of the synth cheeks after this cut is very small!
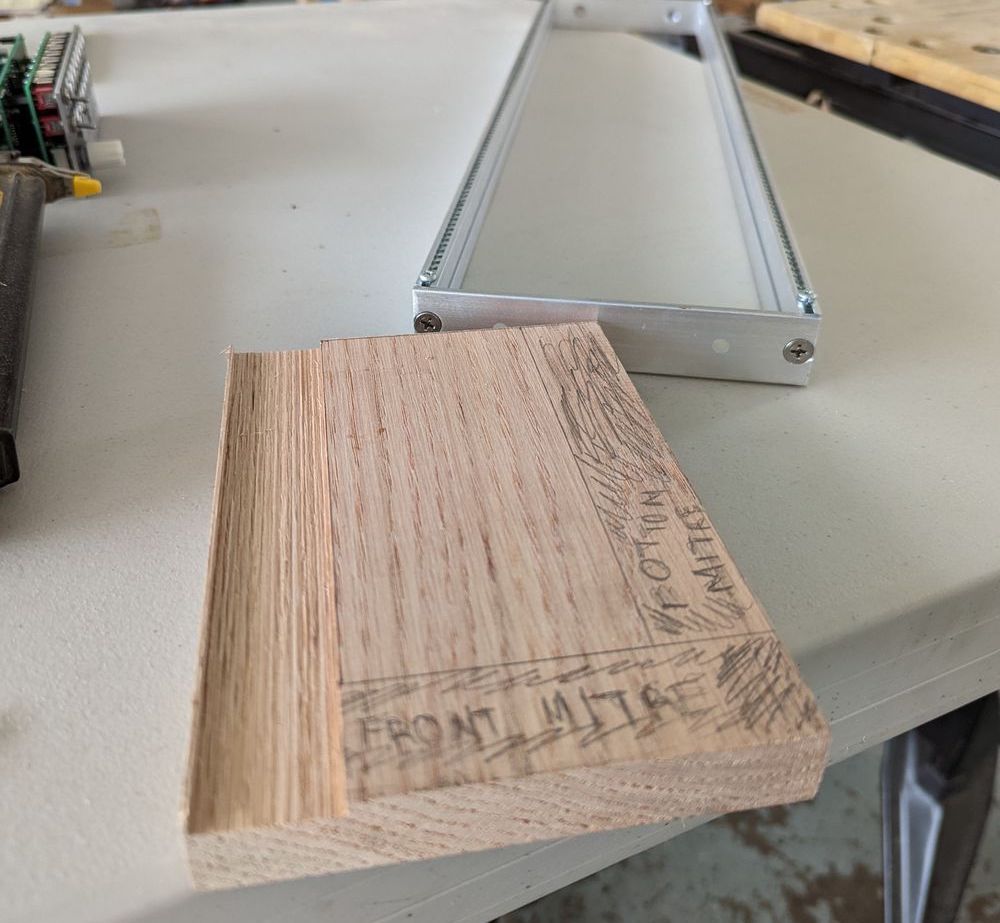
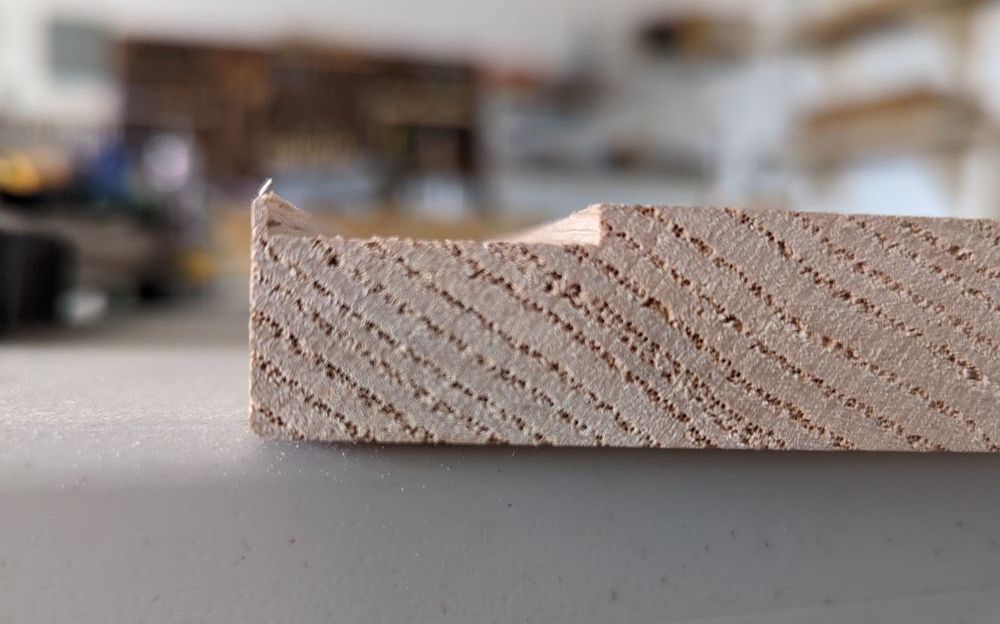
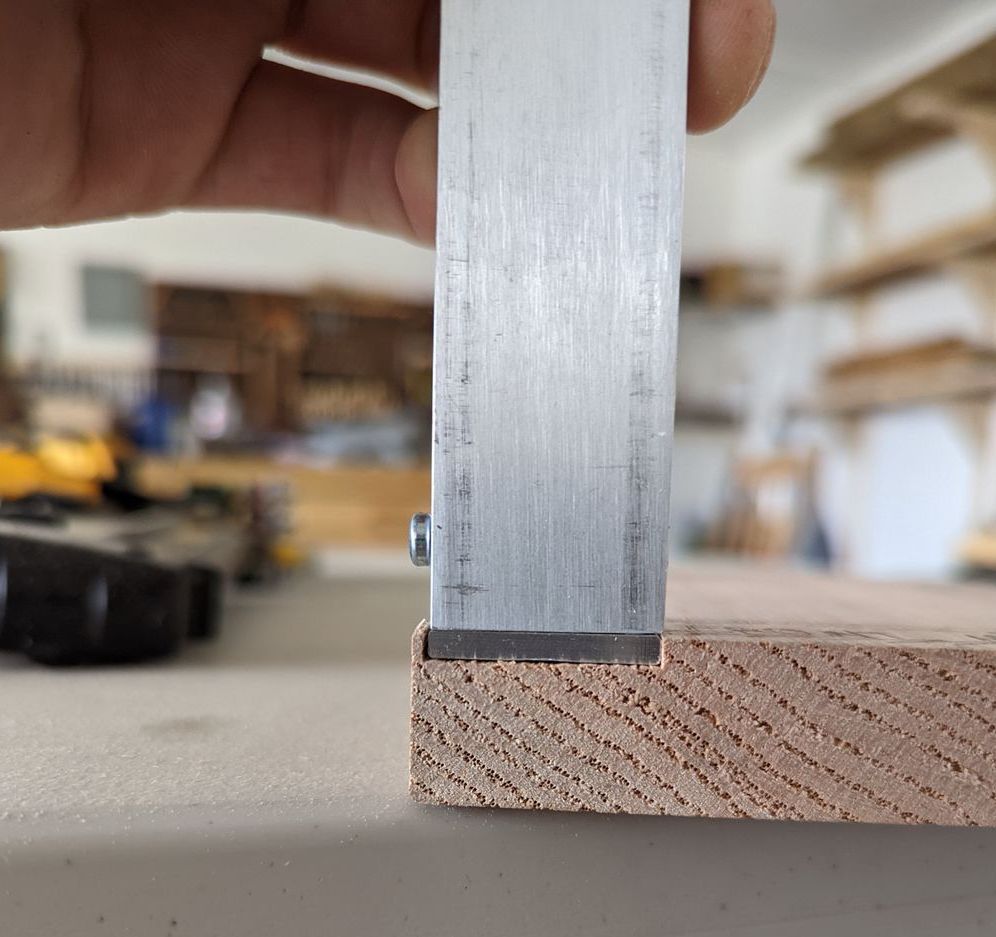
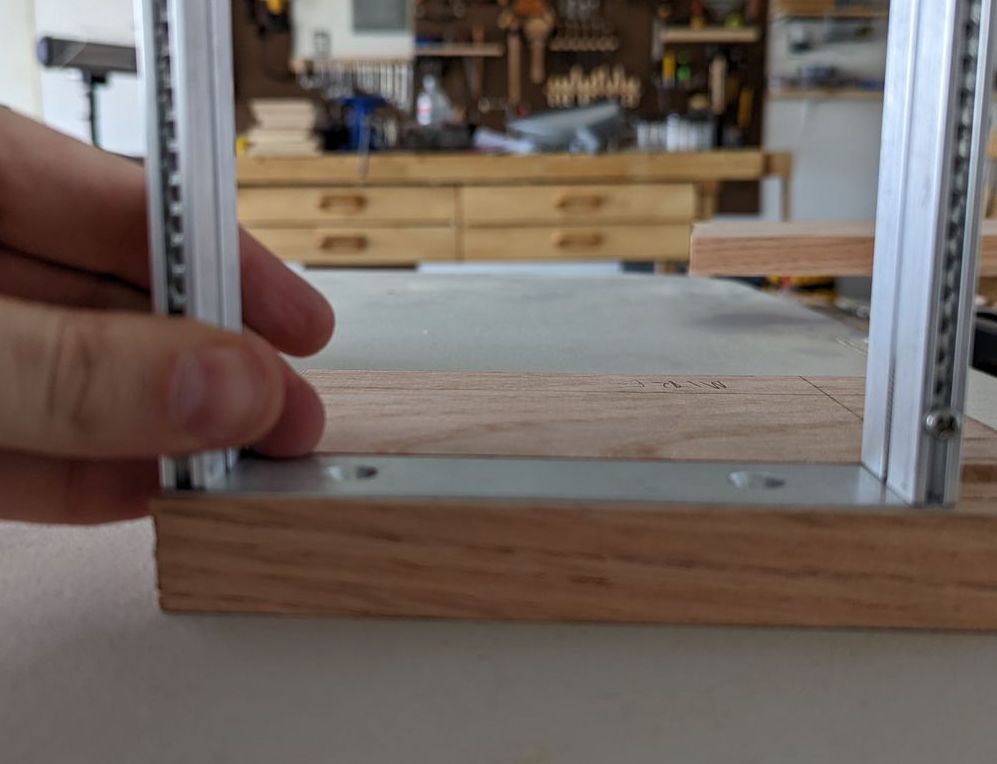
at this point I was pretty fixated on making bevel cuts/joins for every part of the wood case, so I continued on and tried to put together a full first row by creating the front & bottom panels to fit to the cheeks (the back would remain open for connecting further rows)
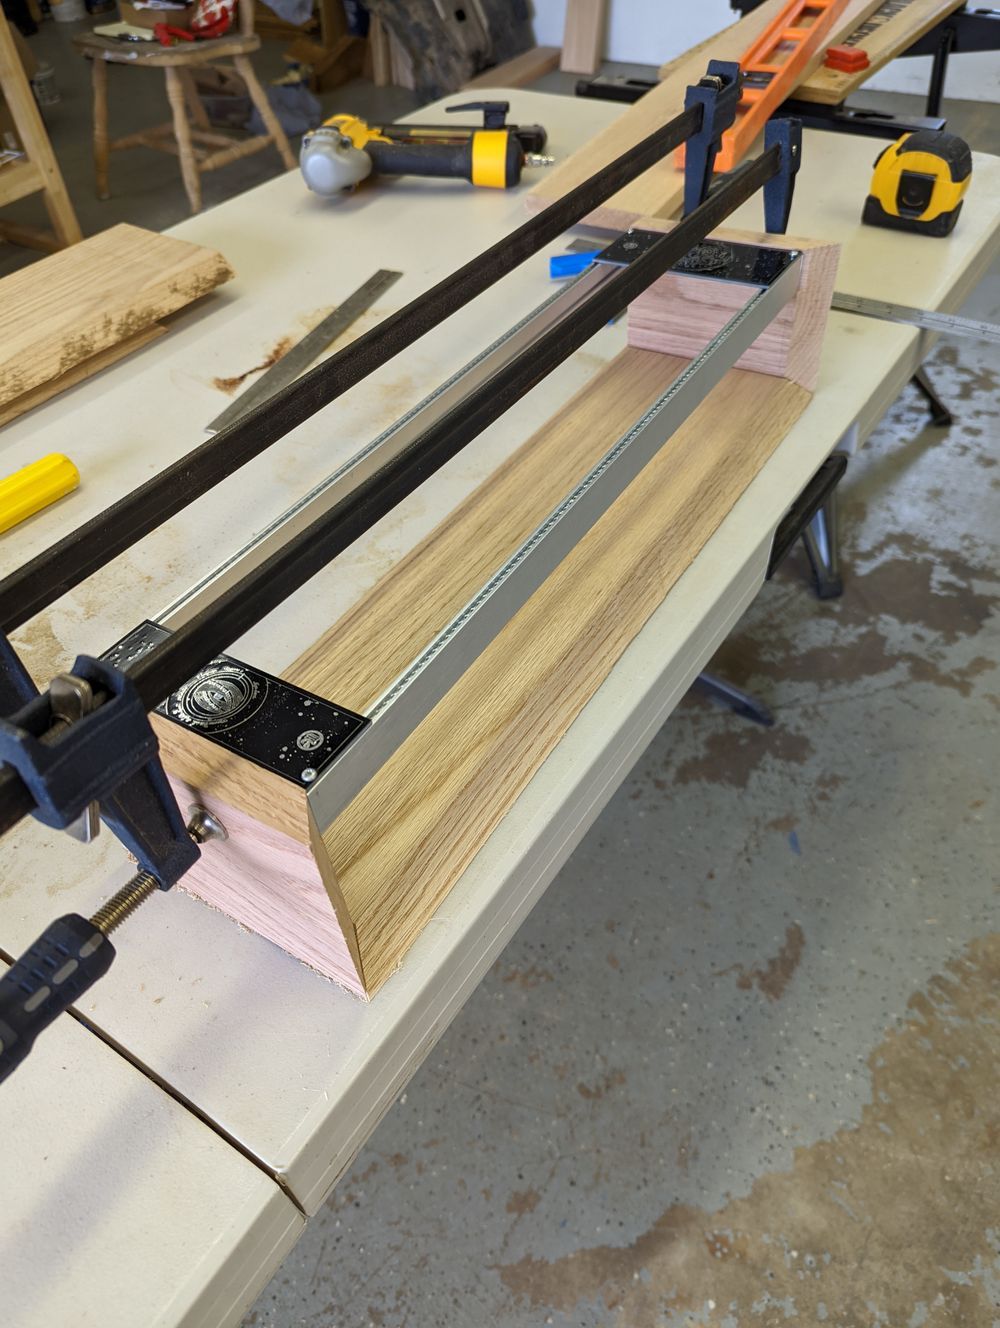
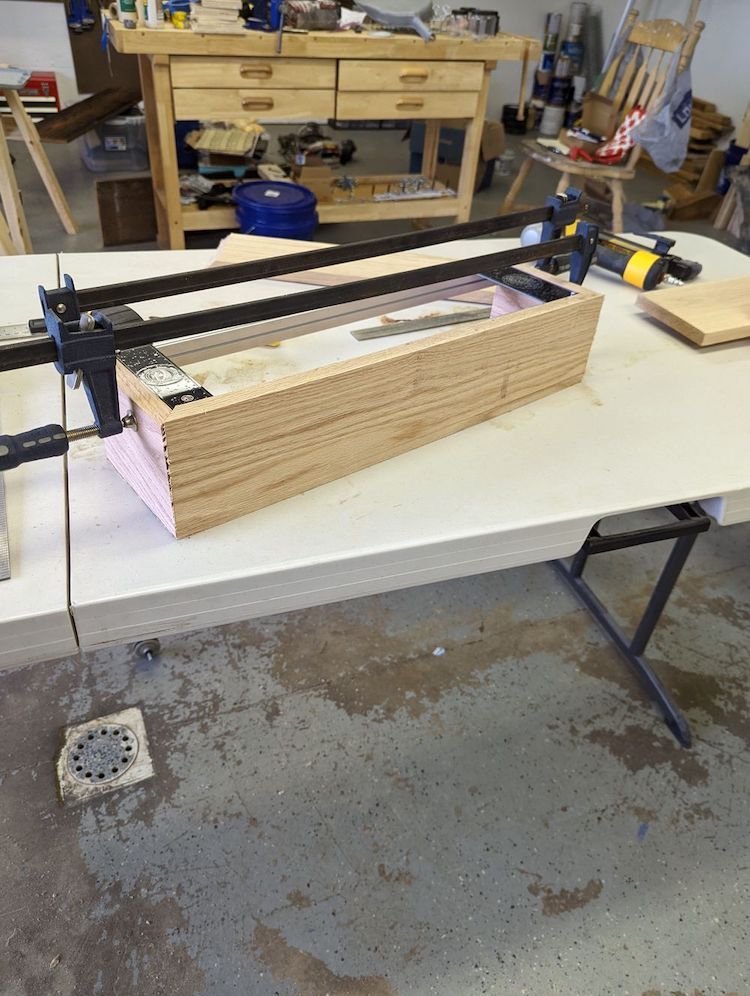
you might be able to see in some of those pictures that the fit was... not fantastic. I was struggling a lot with the bevel cuts on the table saw...just couldn't get a clean bevel cut all the way through! But I pressed on, gluing and brad-nailing the row together with the rails in (but not screwed in) for a fit and letting it dry overnight while I thought about my next move.....well...
Build: Row 1 (attempt 2)
I scrapped this whole thing and started over
yeah, sometimes you just gotta. I actually decided that 1" was too thick and even though I struggled with making clean cuts I needed to downsize. 1/2". I was gonna figure it out, even if it left me with virtually 0 tolerance on bracket mounting screws and overall internal height for the power distro. It wasn't a great idea but looking at the first row I made it was just giant and I couldn't imagine myself enjoying playing with it.
The most important thing I did before starting over though, was trying to spend some time learning how to use my table saw a bit better. No real pics to share here but I ordered a fresh blade and spent a day out with scrap wood testing how to make cleaner & safer rips and bevels on my saw. This (not surprisingly) made a huge difference when I finally went for attempt 2, especially with that new tolerance requirement.
So finally I went out and grabbed thinner wood and gave it a go. I made two other changes to the design at this step to make my life a little easier after ostensibly making it so much harder – I decided that only the visible wood joins would be beveled. Figured this would save me some tolerance issues when attaching bottom panels which is part of what made that first row tricky. I also added another dado cut, though this one was much simpler: adding a couple mm inset into the bottom panel to make extra room for the power bus boards. I was admittedly worried about some module depth here hoping this buys me enough room.
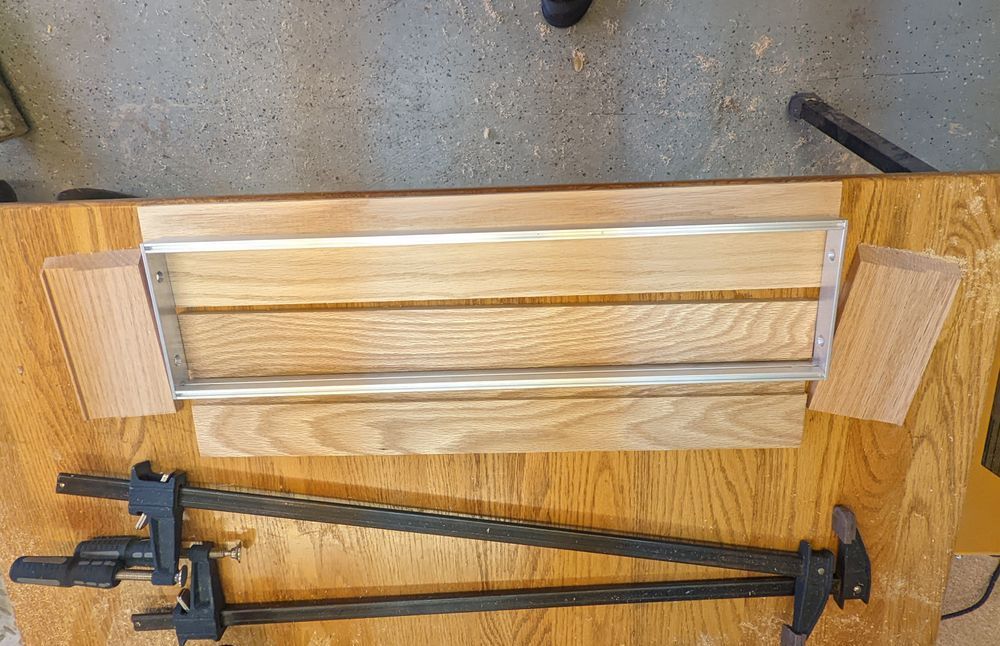
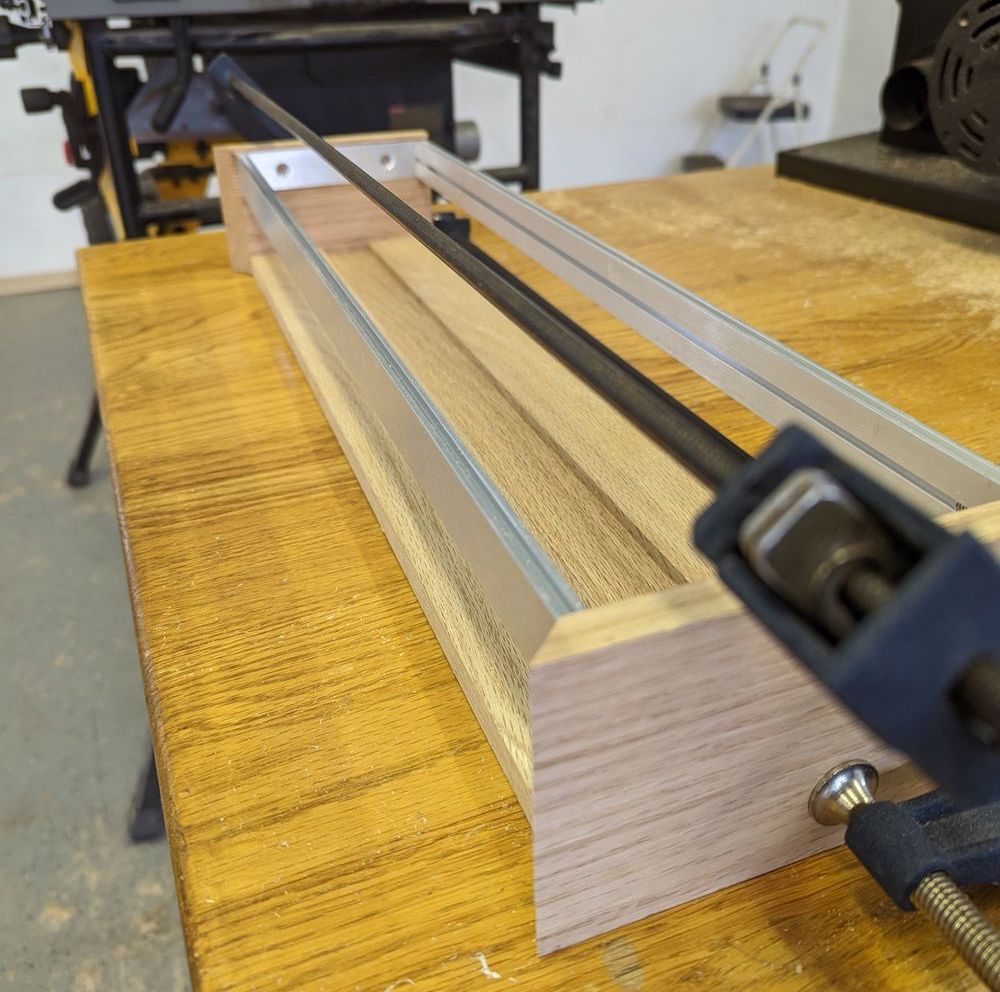
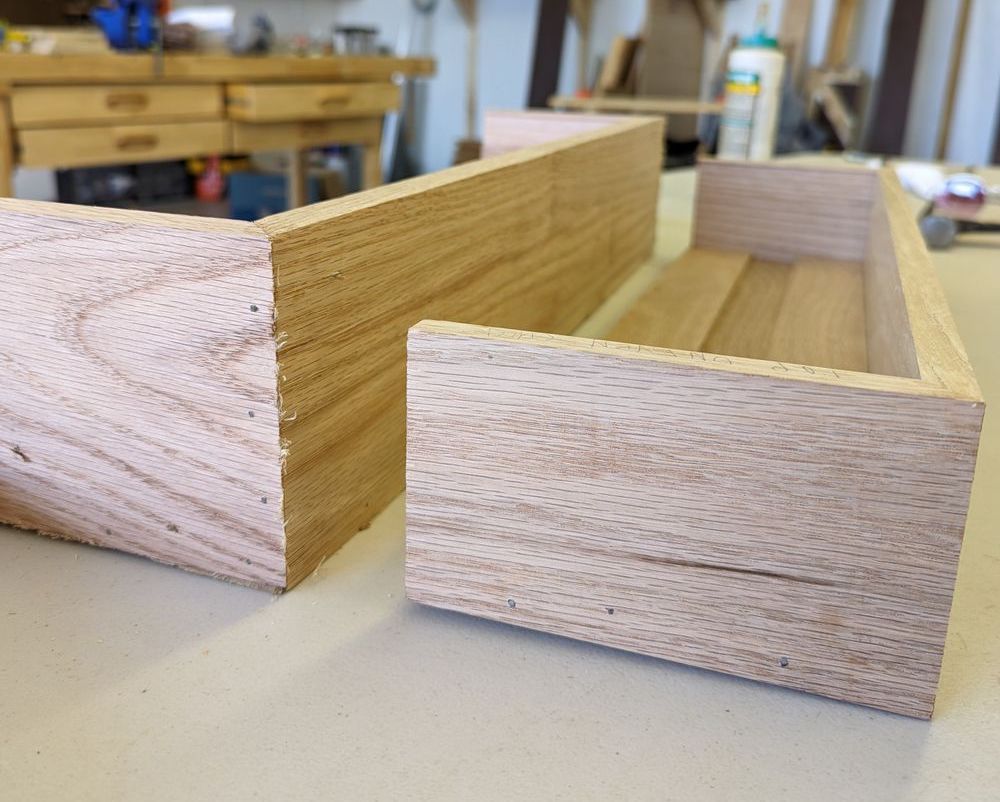
that last pic shows not only the size difference between attempt #1 and #2 but also how much cleaner those bevel cuts got after practicing with & learning about my tool :] still far from perfect but definitely something I could work with. Onward to more rows!
Build: Rows 2, 3, 4
I actually don't have any specific pictures for putting the second row together – that one was very straight forward since it was a duplicate of the first without any bevel cuts since it had to have an open front and back. In general I kinda hit a groove at this point and was picking up the camera less and cranking through cuts.
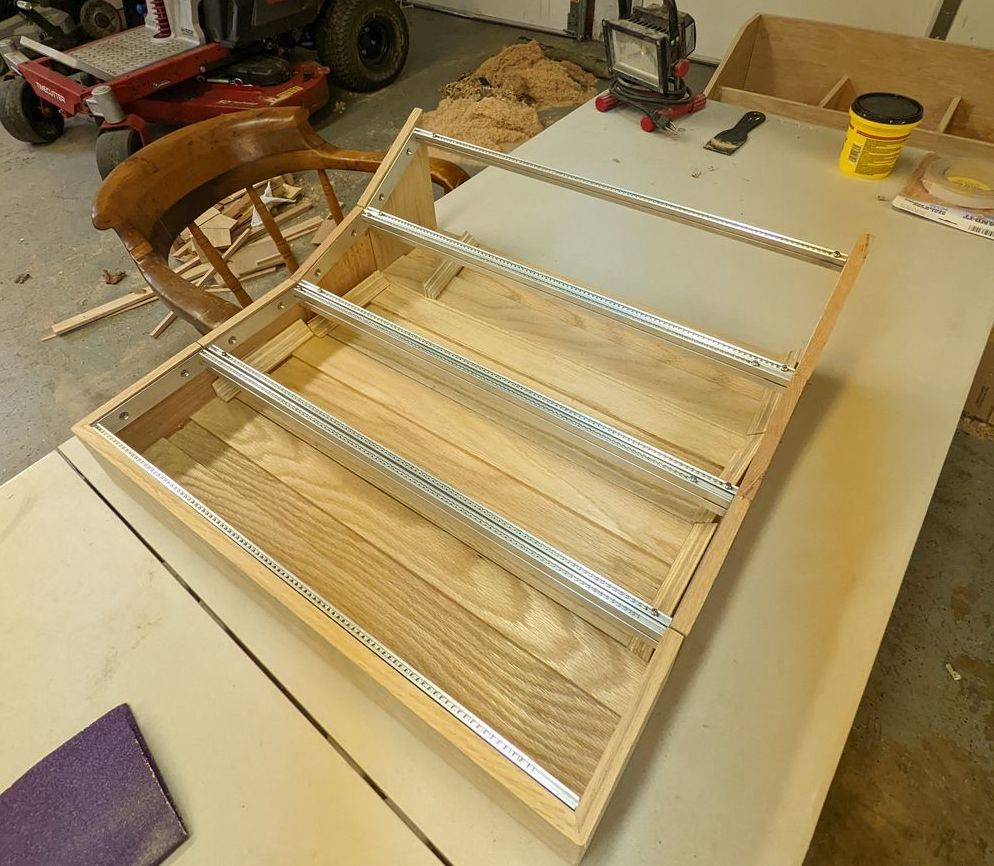
After that second row I got to my first 'angled' row – planned for a 15 degree incline from the last row. Outside of those bevel joins this was another place where that table saw practice really helped me get good clean consistency and it lined up well right against both rows 1 and 2 which bode well for my overall "modular" design ideas.
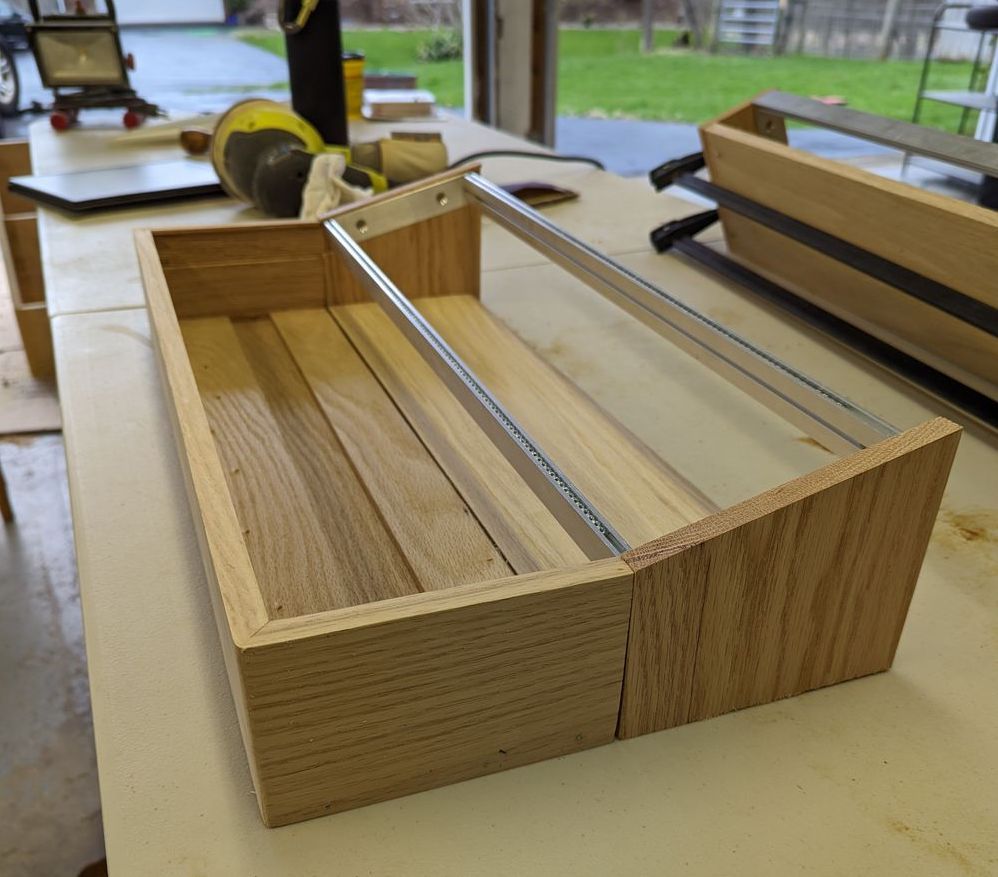
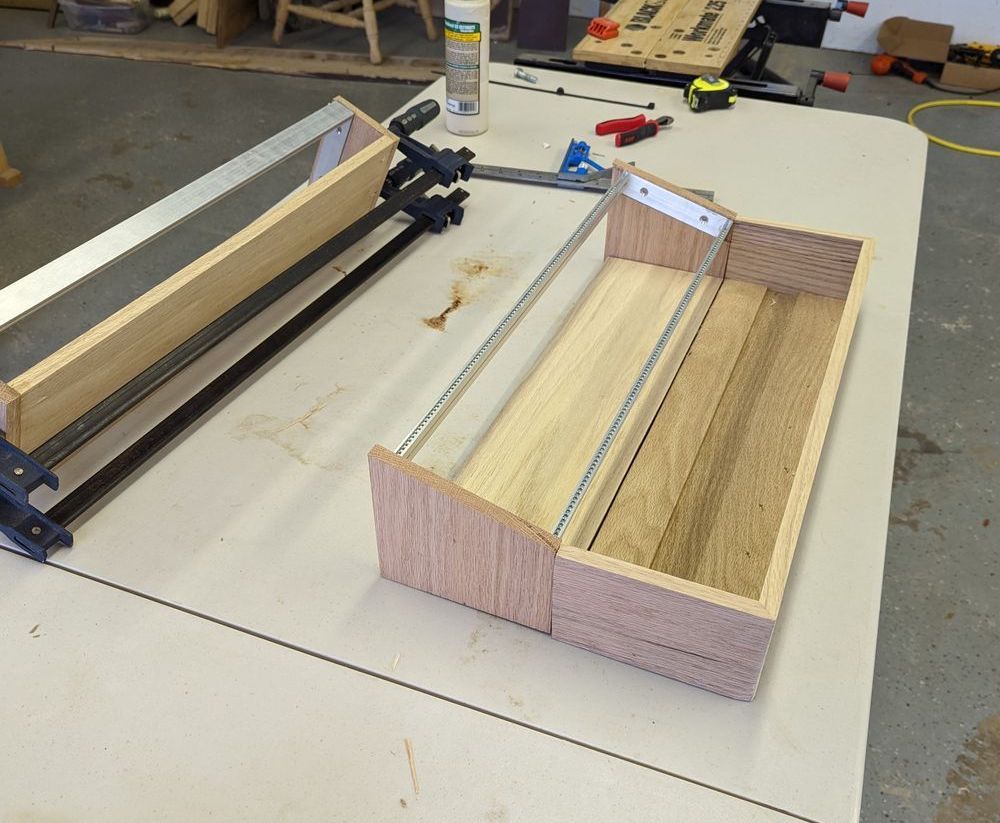
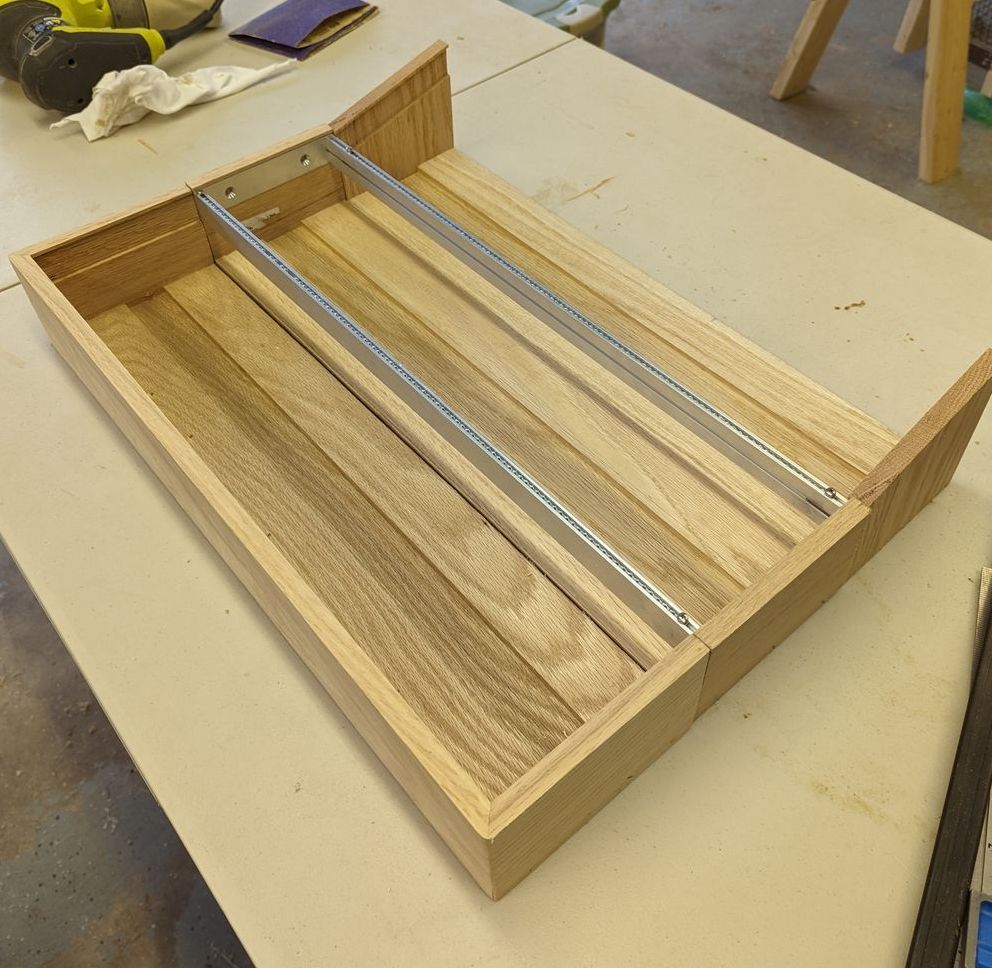
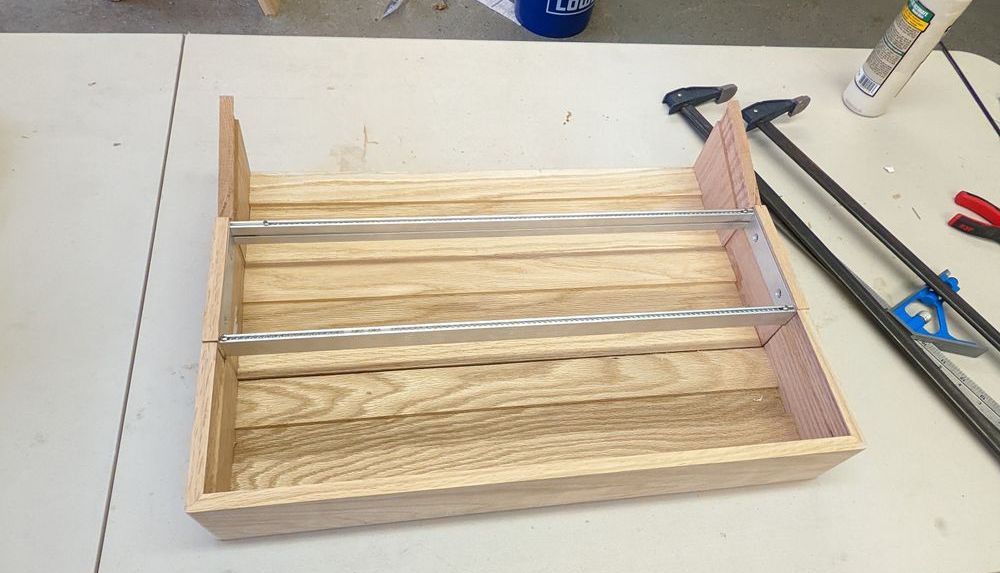
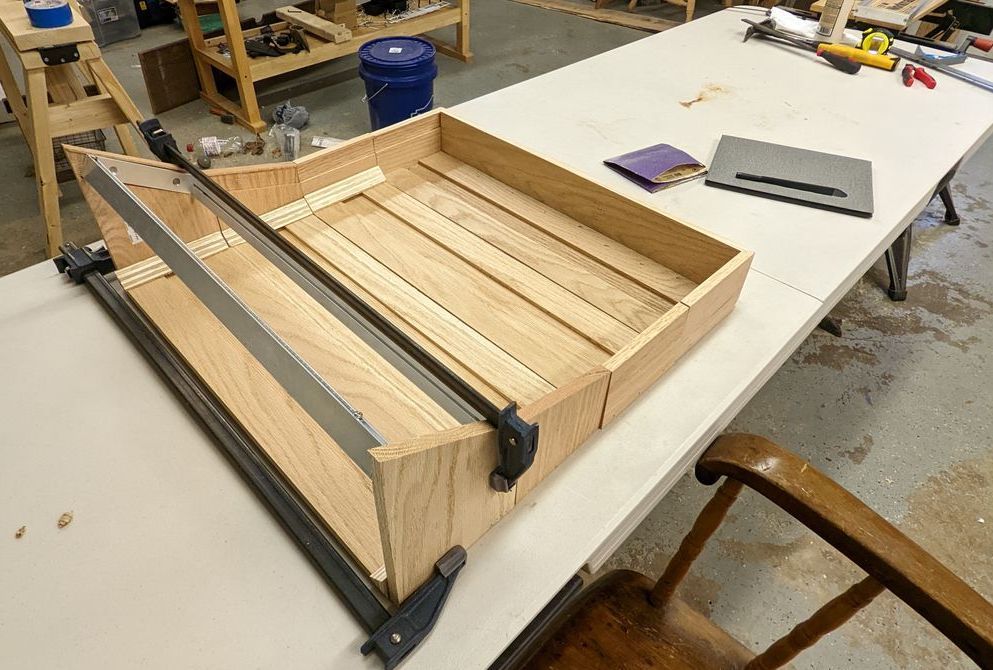
I just had to repeat that success again for a steeper 30 degree incline on the next row. You might be able to spot here I also started adding little scrap wood supports at the corners of the rows – the ones without a front/back were a little less sturdy than I wanted and this just added a little peace of mind.
Stain & Poly Rows
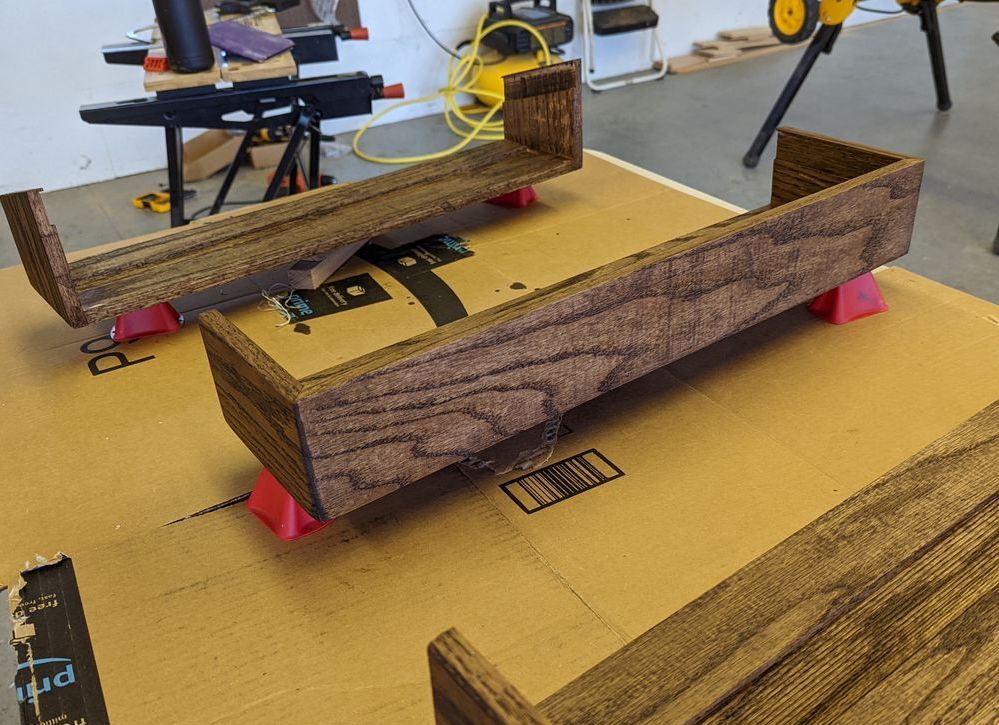
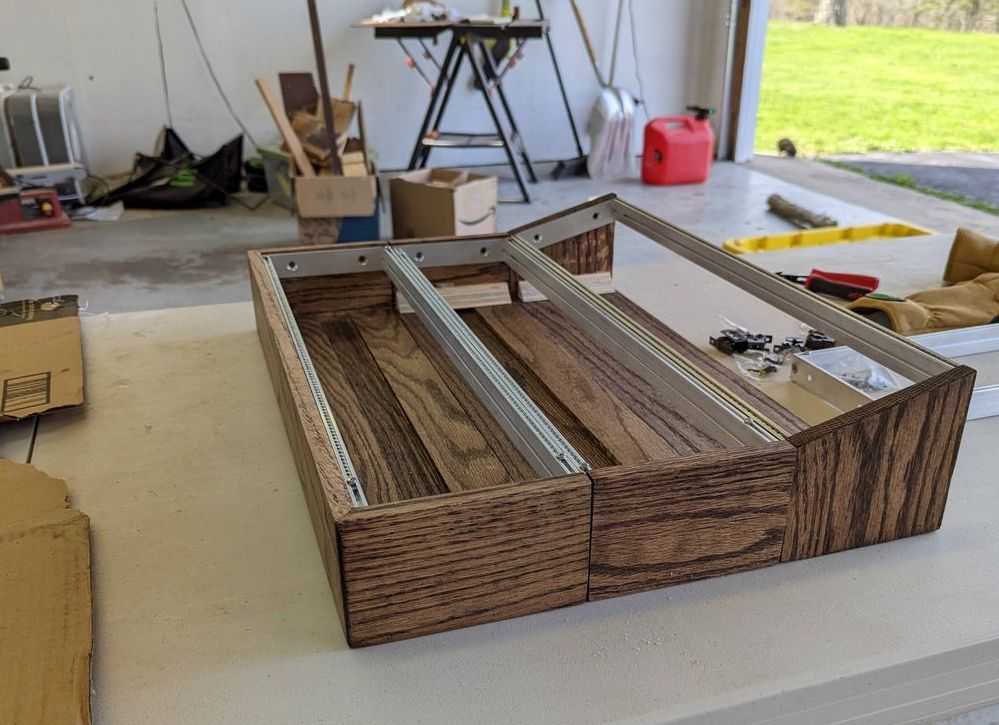
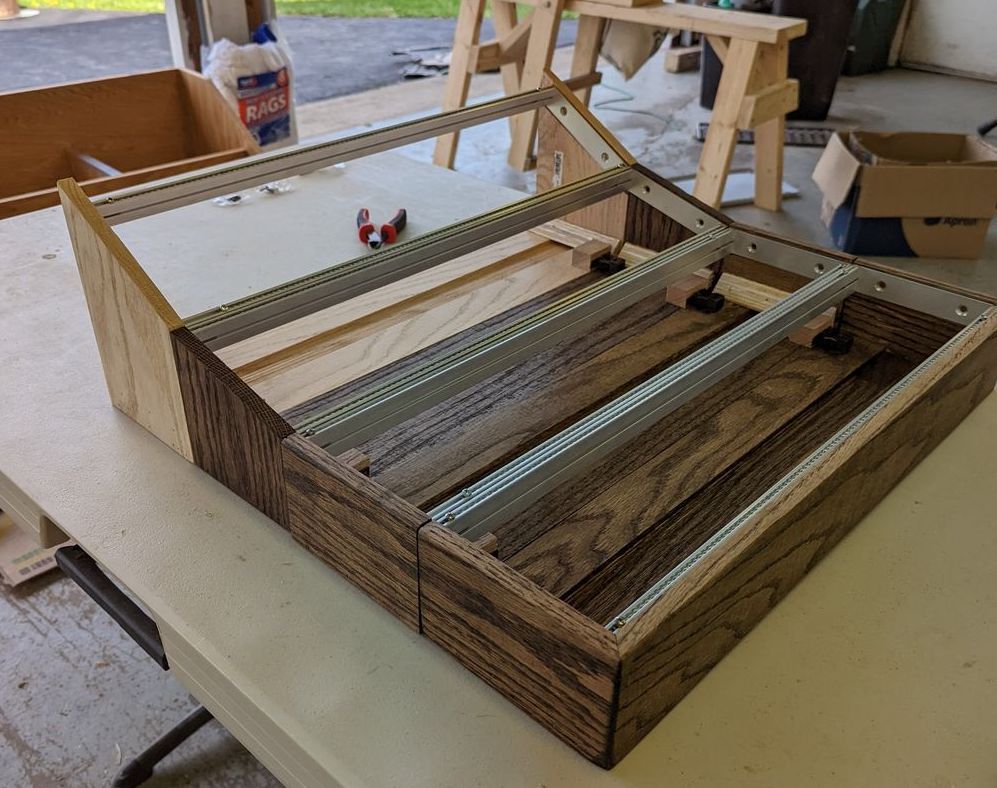
Then it was time to stain! I decided to go with a darker mocha-esque color with an ultra-flat/warm poly (1:1 with mineral spirits). One coat of stain, 3 passes of the wipe-on poly with #00 steel wool in between and #0000 steel wool at the end. I was less excited about this step than you may think – I spent some time trying to think of cooler/more unique ways to finish the wood but this just seemed like the safest and most tried&true method. We've certainly taken on enough risk here. Besides, it ended up looking very good, especially by the end.
Connecting hardware
You might be able to peak some of the connecting hardware I chose for the rows in that last set of pics – I initially was planning on using a 'clasp' type mechanism like the ones you'd find on a guitar case:
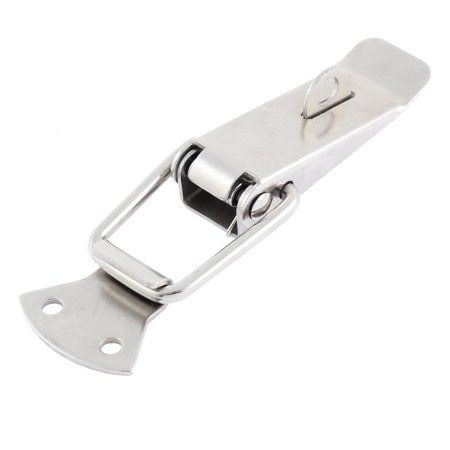
But after exploring the hardware store with an open mind I ended up picking up this cabinet hardware you've probably seen before:
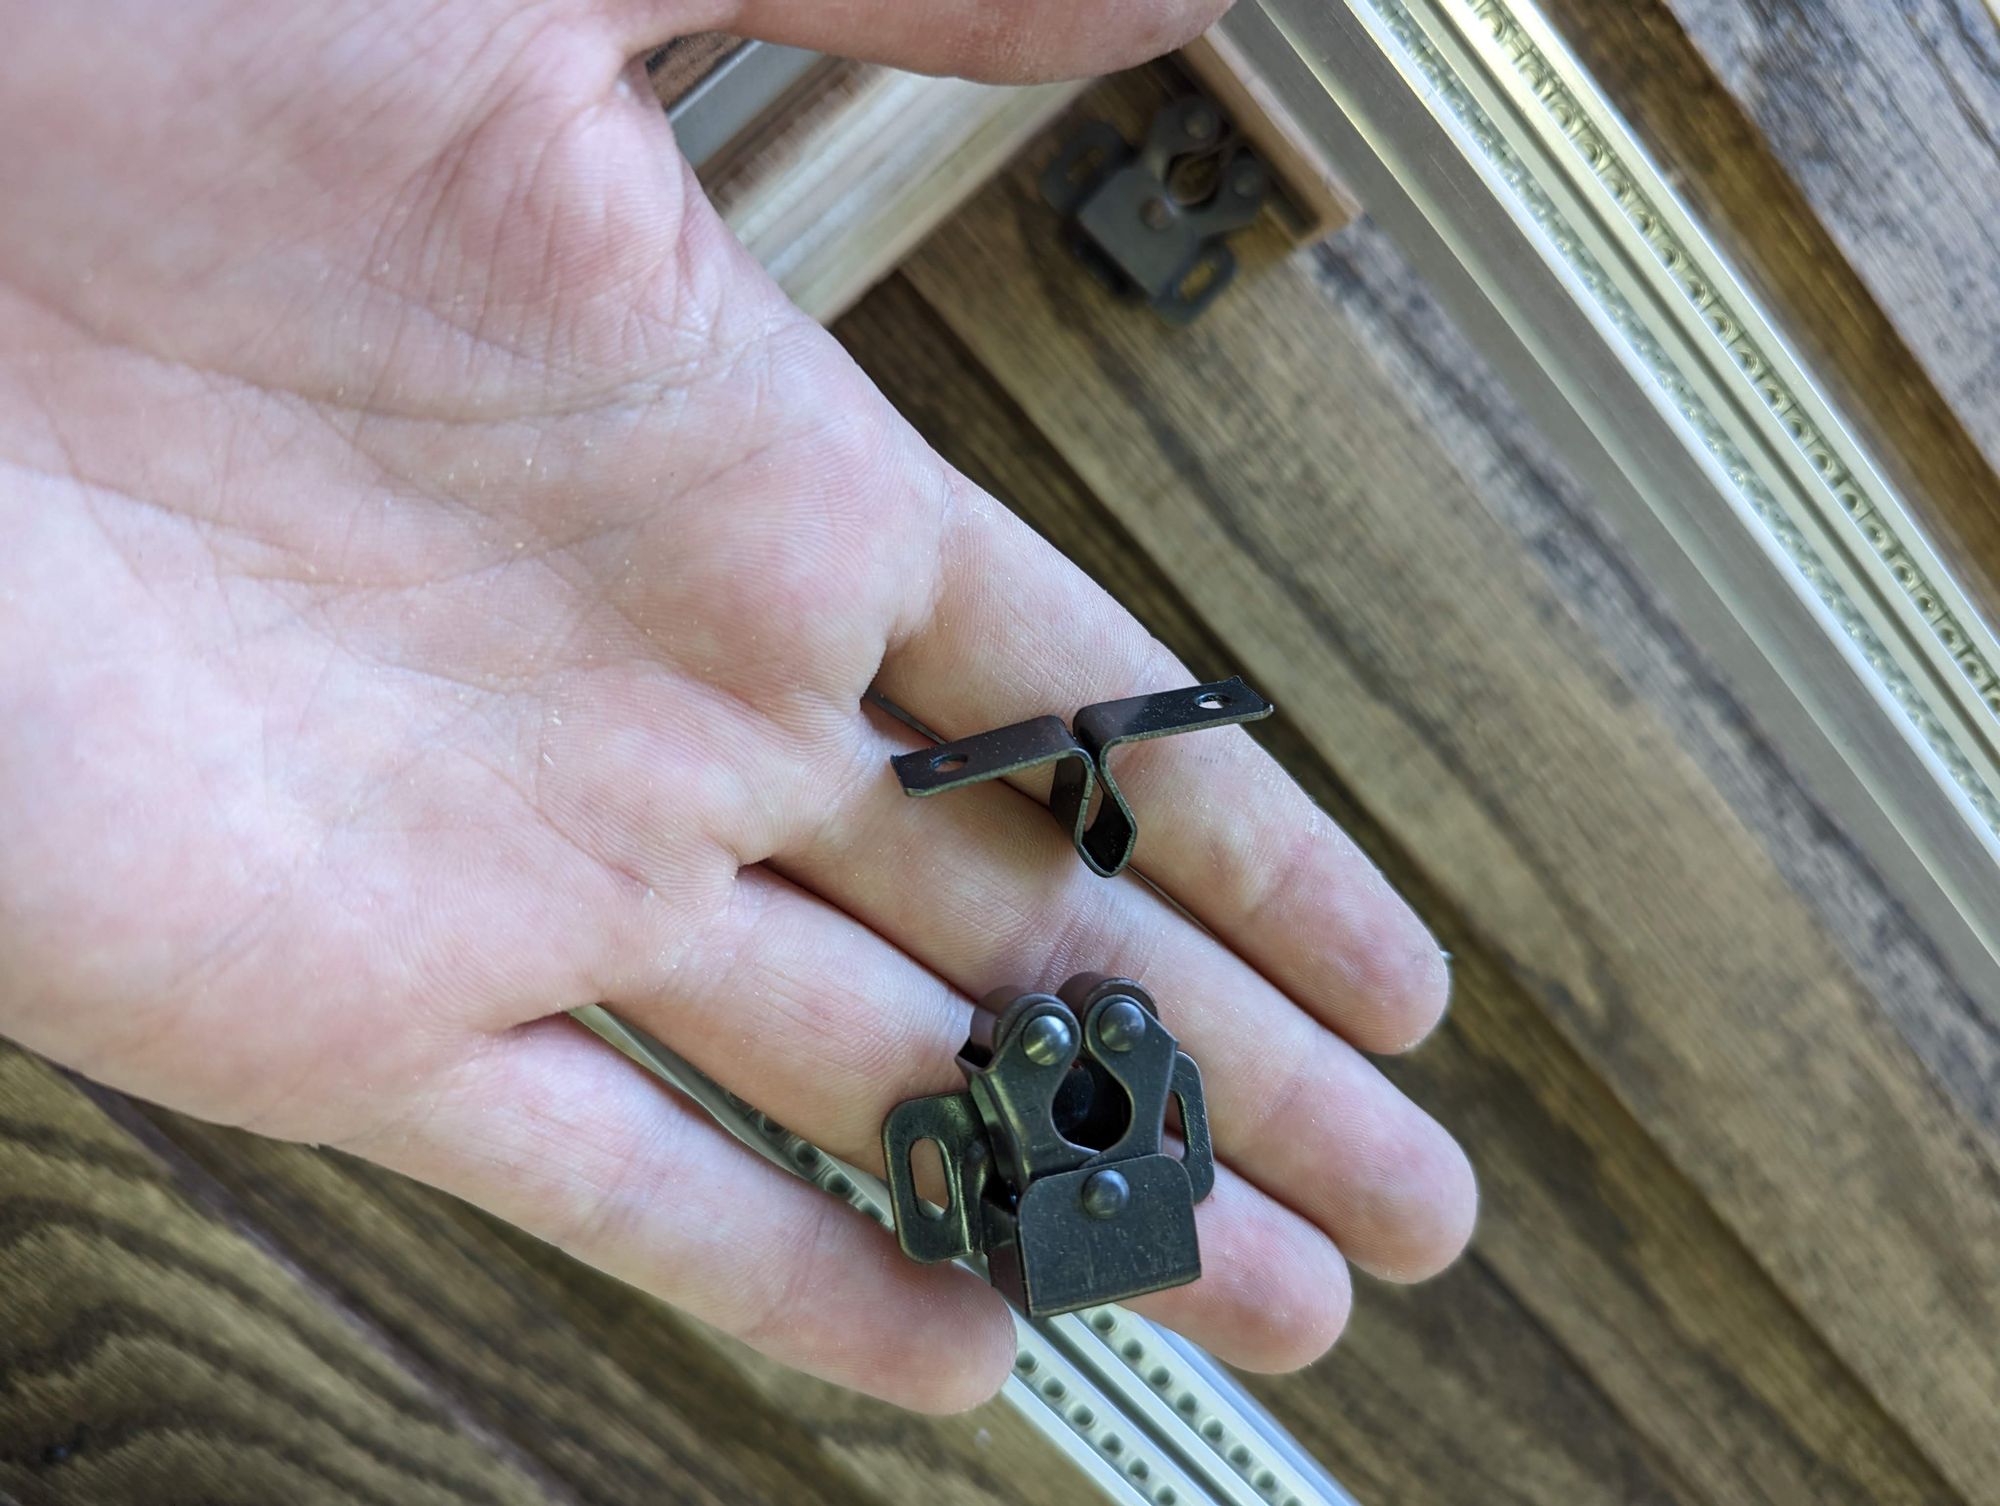
What I guess I noticed about these that I thought would be betters is that it requires less clearance in all directions, would not require someone to reach their hand into a tight space to complete the connection, and the female roller mechanism is actually on a little pivot so they're built to be a bit forgiving yet still have a satisfying 'snap' when connected.
I have to admit I was kinda nervous about this part of the project, I had shelved solving this problem until I got there, just assuming I would find something that worked. Kinda figured this is where it would all fall apart and be another unfinished mess. I kept going, though, and lined up the hardware for the first 2 rows to test it out. At this point I also screwed the rails into any finished rows.
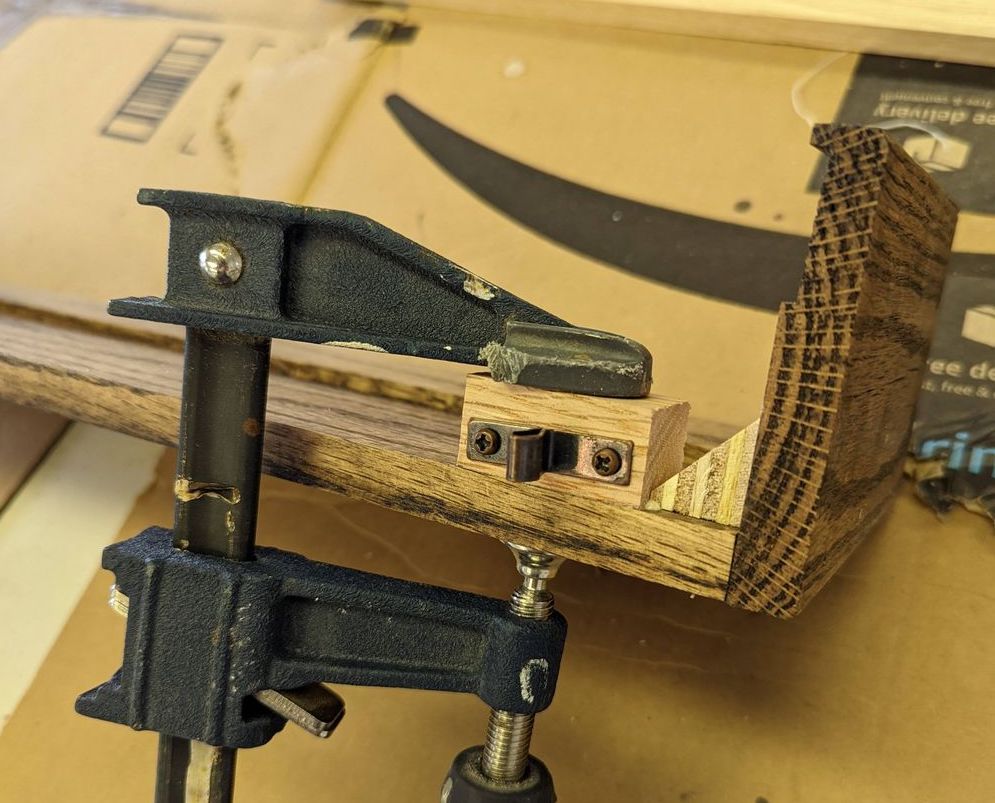
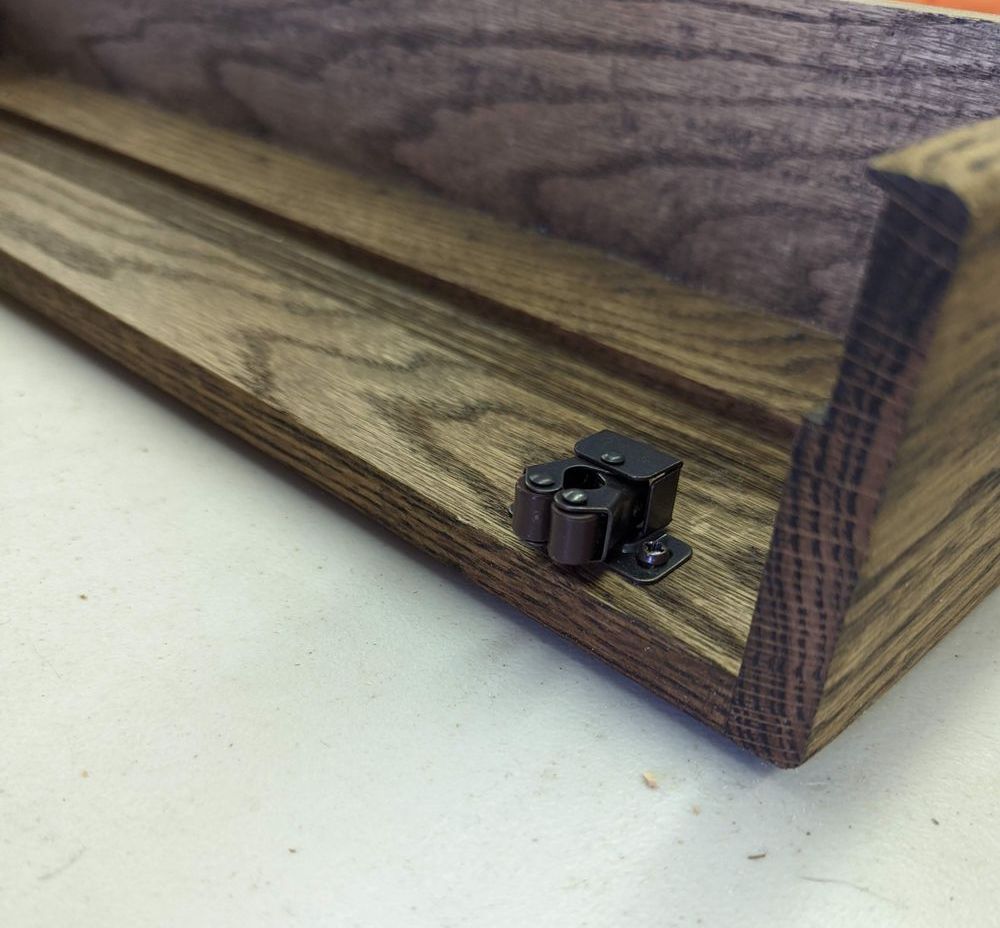
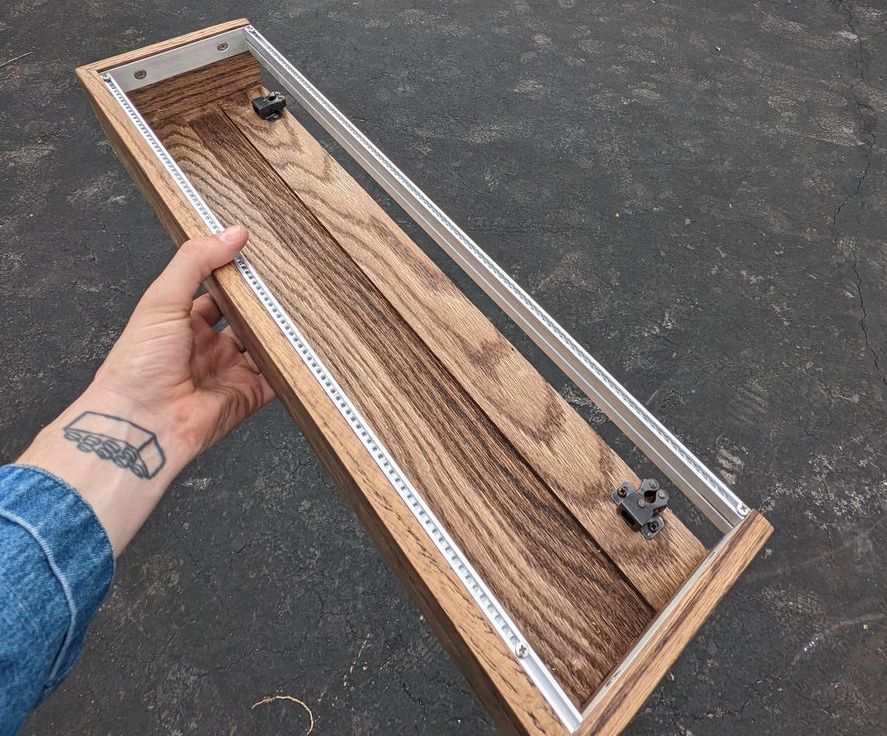
HOLY CRAP IT WORKED
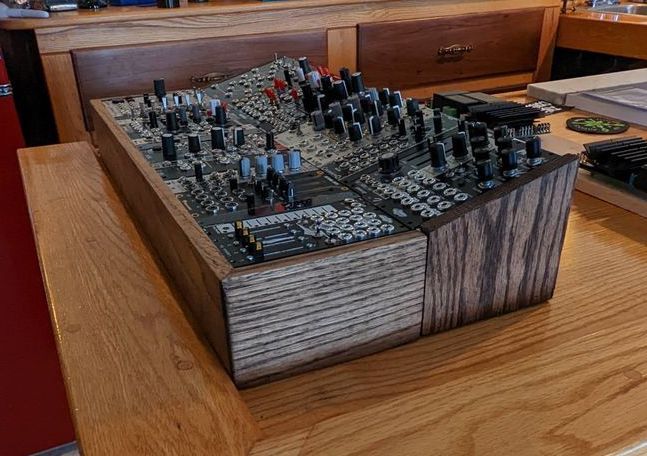
I can honestly barely believe how well it went. I got right to adding the third and fourth rows, "loose" fitting modules as I went because I was so damn excited and just needed to see how it looked and how flush I got the modules to the wood.
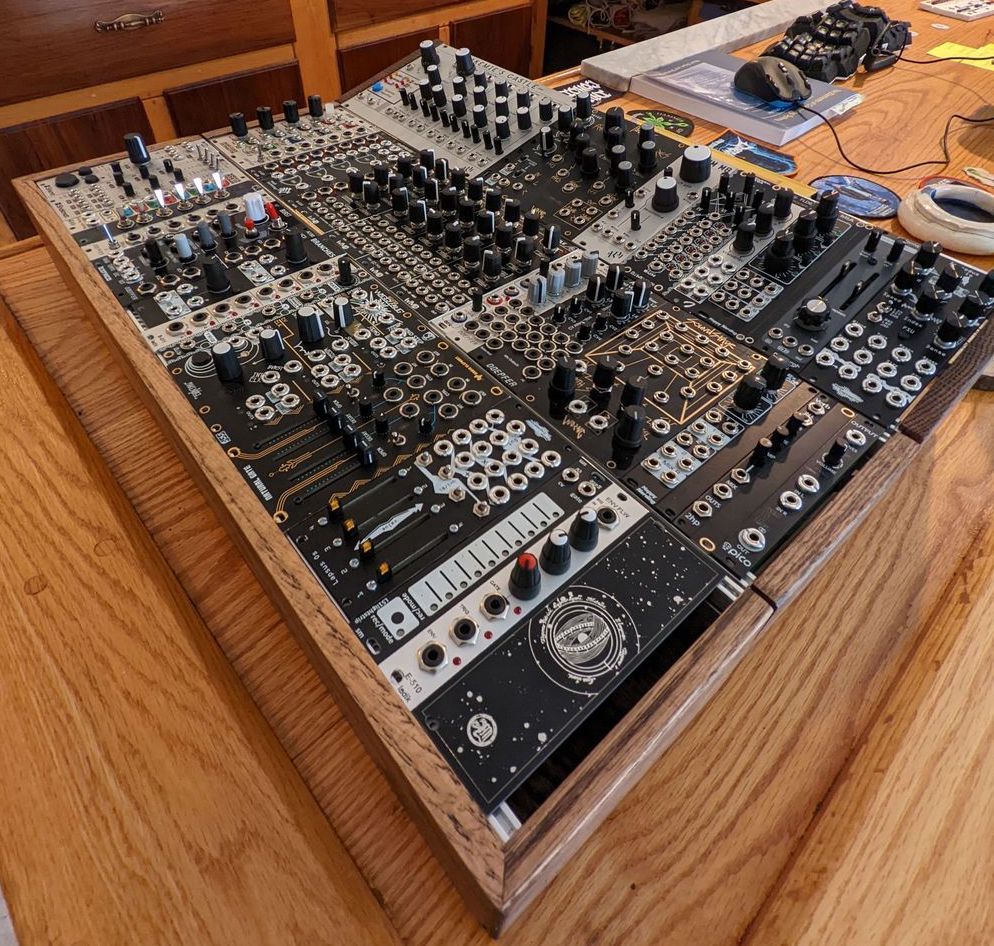
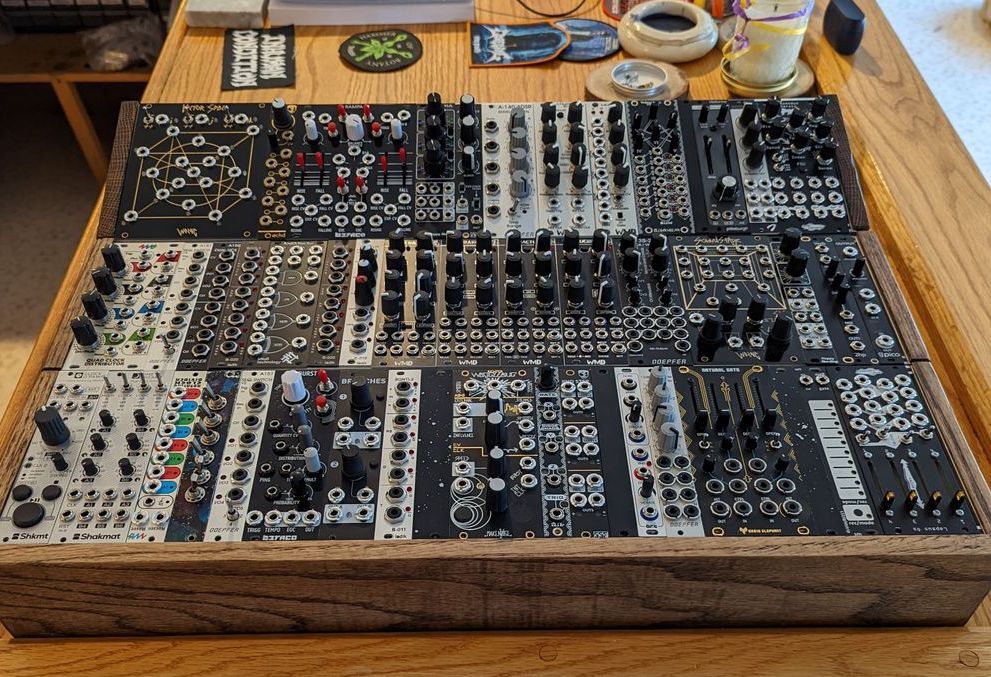
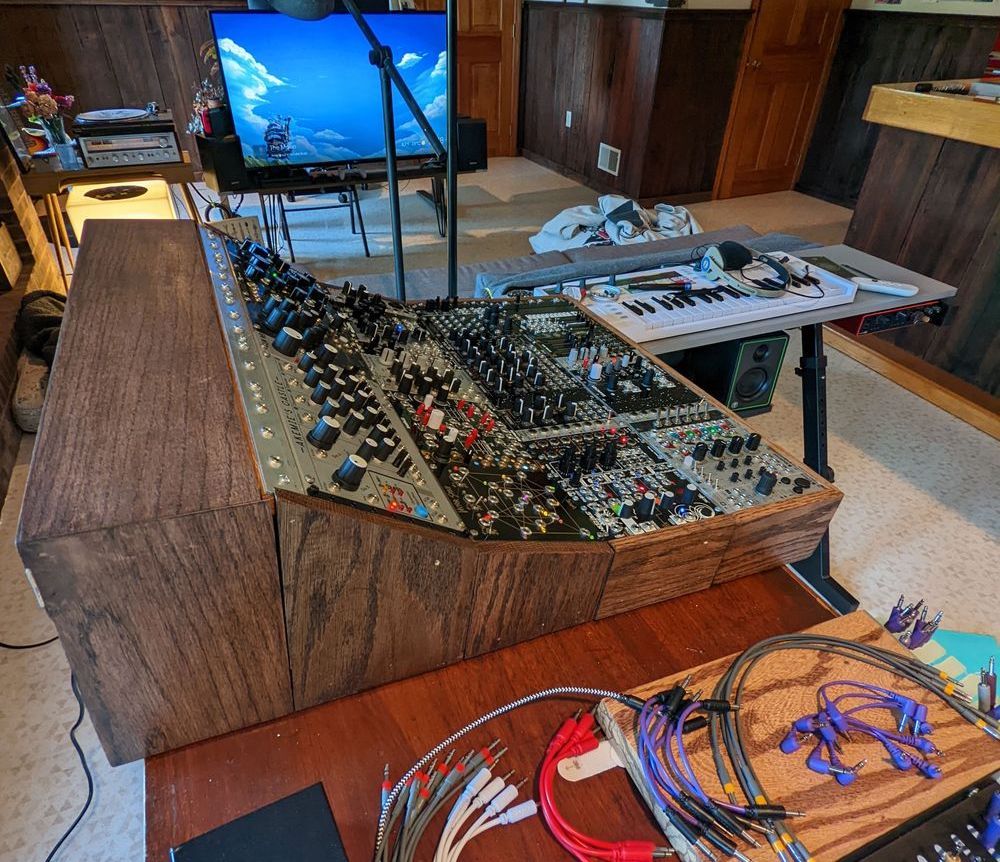
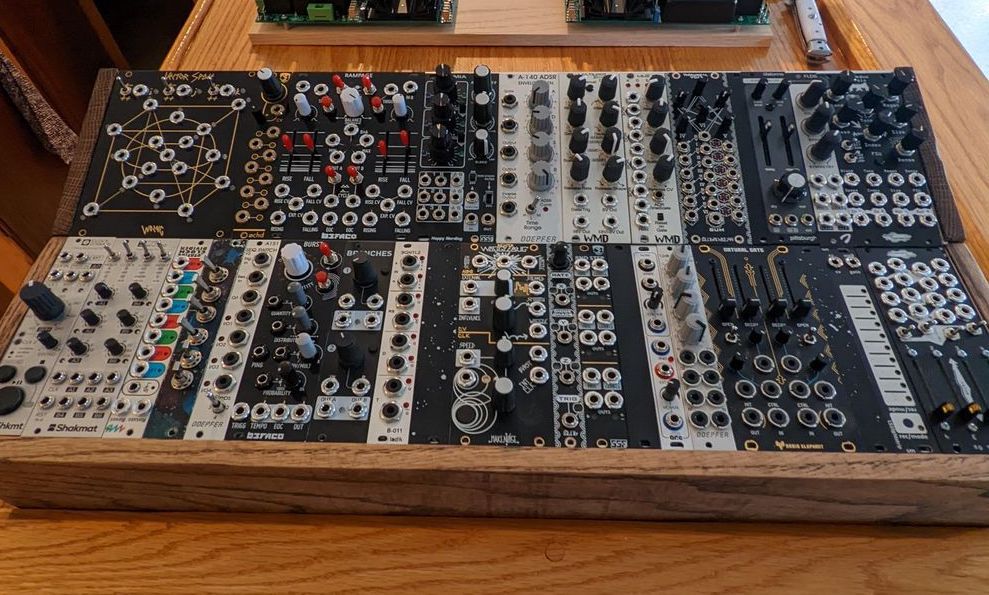
it's far from perfect, but at this point I was ecstatic and pretty impressed with myself. The fit is great and it looks fantastic, I think. Importantly, I was able to test the semi-modularity of the design by attaching the 15 degree row directly to the front row. It's not super flexible but I mostly like the idea of having a row-building system and allowing myself to change things without building everything over as long I stick with the same HP. This goes back to the 'functional' design of the case -- if I want to make any changes I should just be able to do the same math I did for these rows with tweaked numbers. The biggest bottle neck to a design change here is probably the drying time for finishing the wood rather than mental/physical effort. Time will tell.
Plan: Power and I/O
Well then came some of what I considered to be more dull tasks... that is, designing and building the power 'caboose' that would house the PSUs (this will include some extra I/O), installing all the bus boards and cutting power cables for the modules...
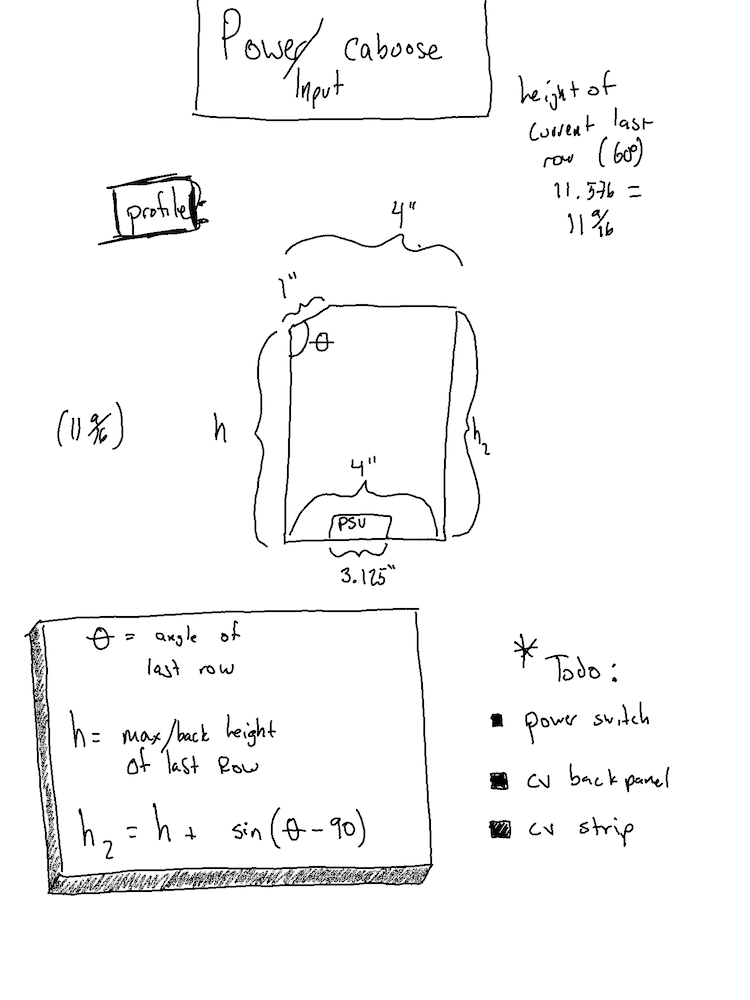
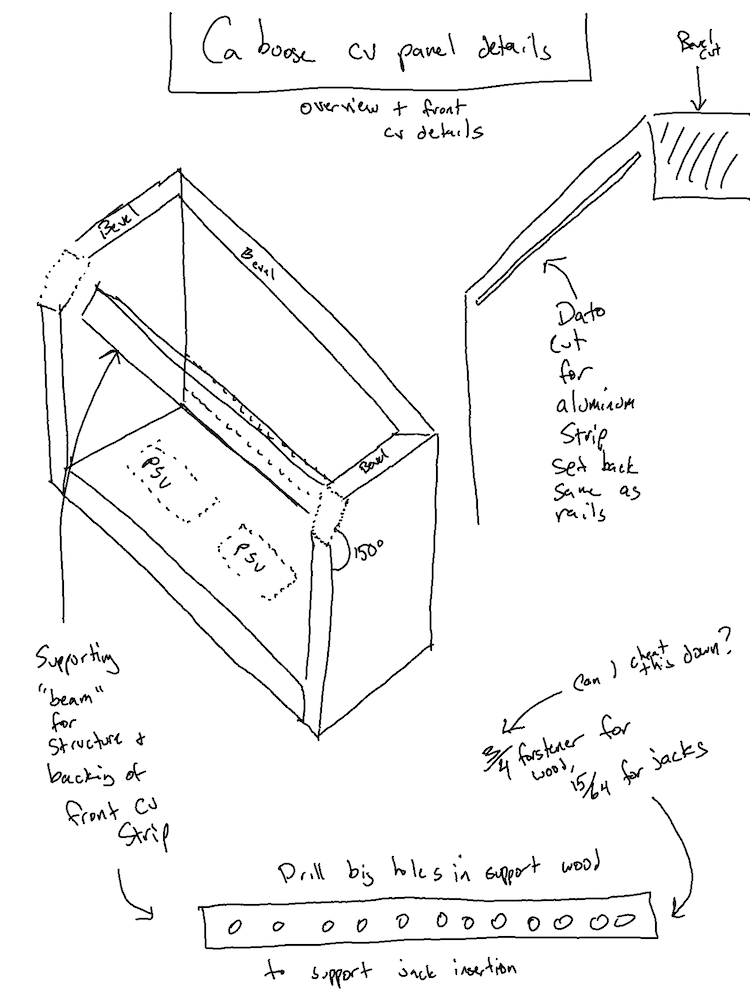
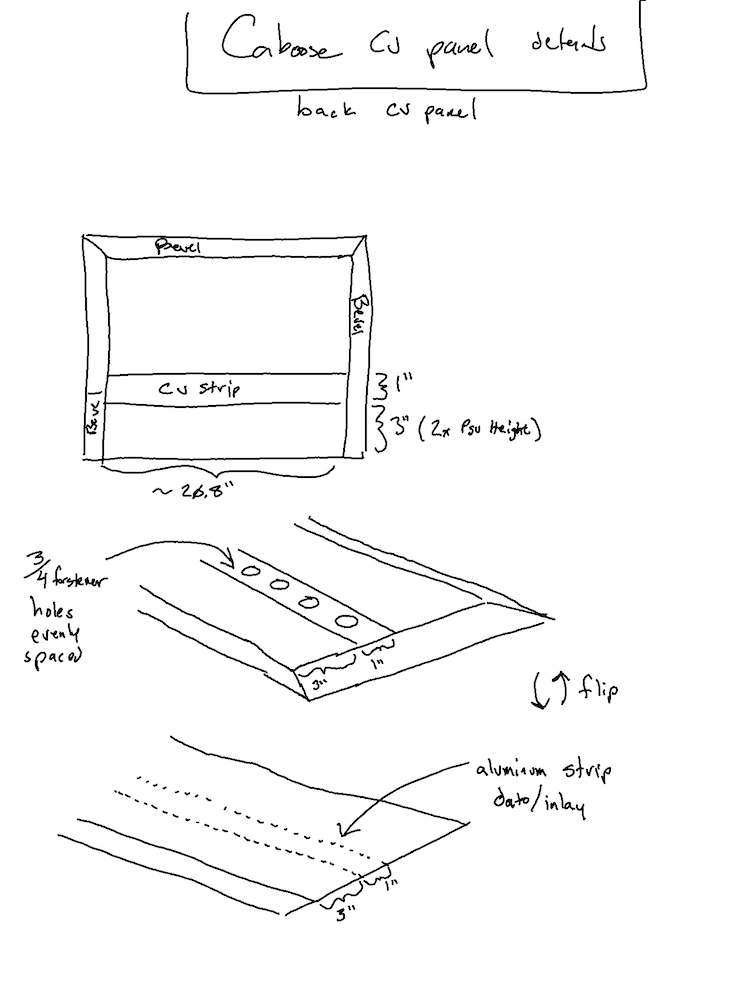
Here's what I started scratching down as thoughts.... it unfortunately has a lot of complications added to it and probably ended up being my biggest frustration with the project as a whole.
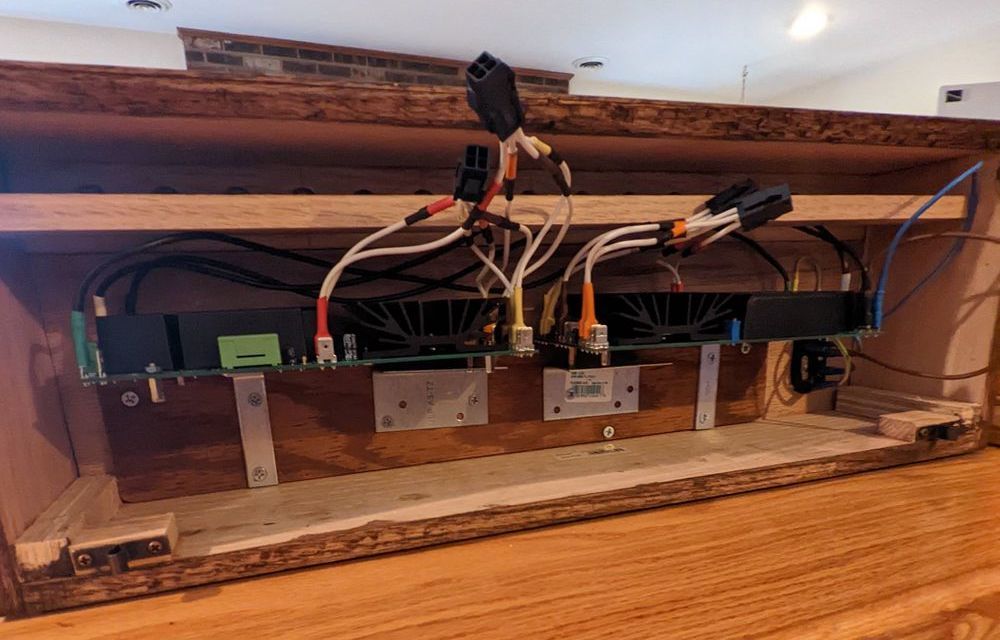
The needs for power are simple theoretically – mount 2 Doepfer PSU3 units, a mains input with switch & slow fuse, and wire everything up in such a way that we can connect the bus boards of the other rows to the caboose.
Build: Power and I/O
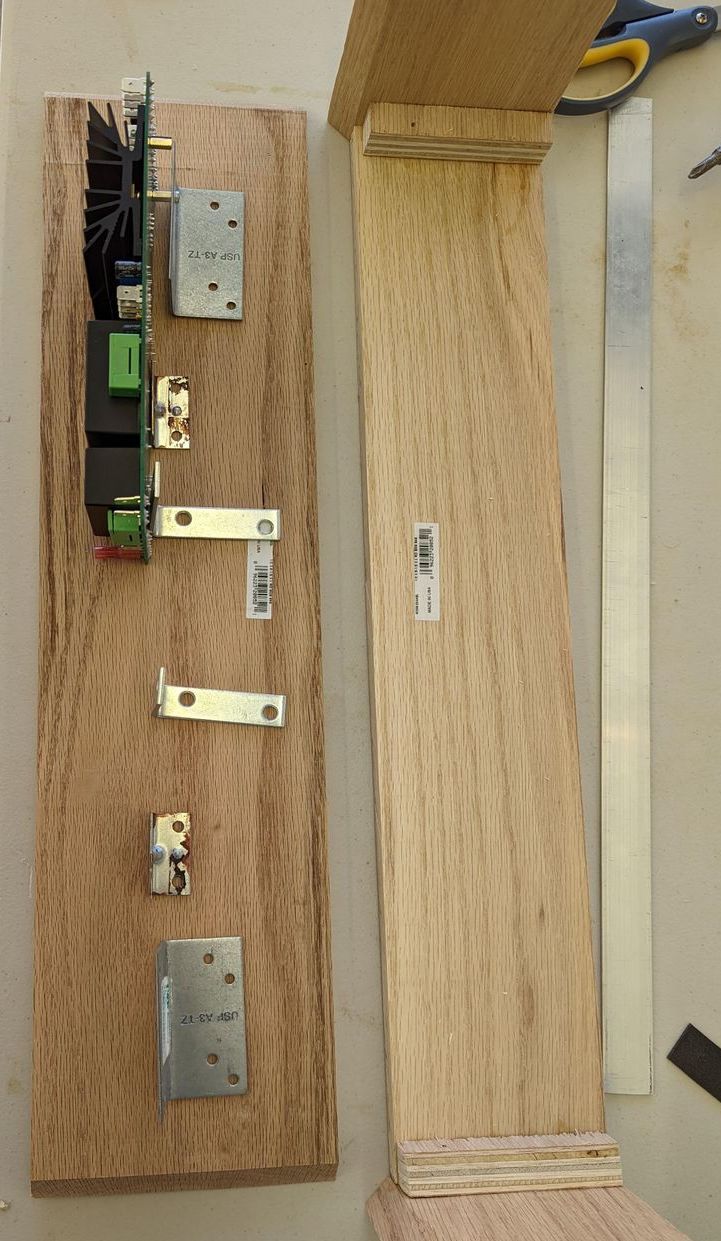
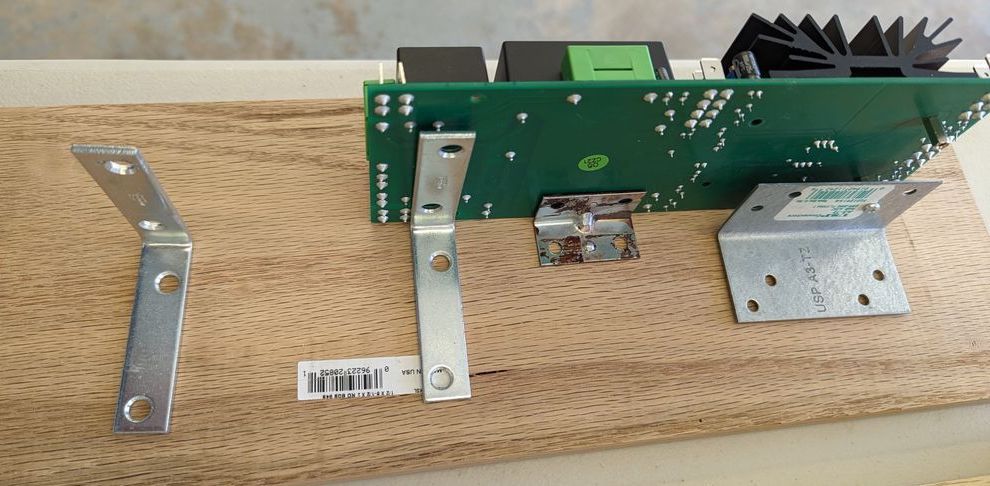
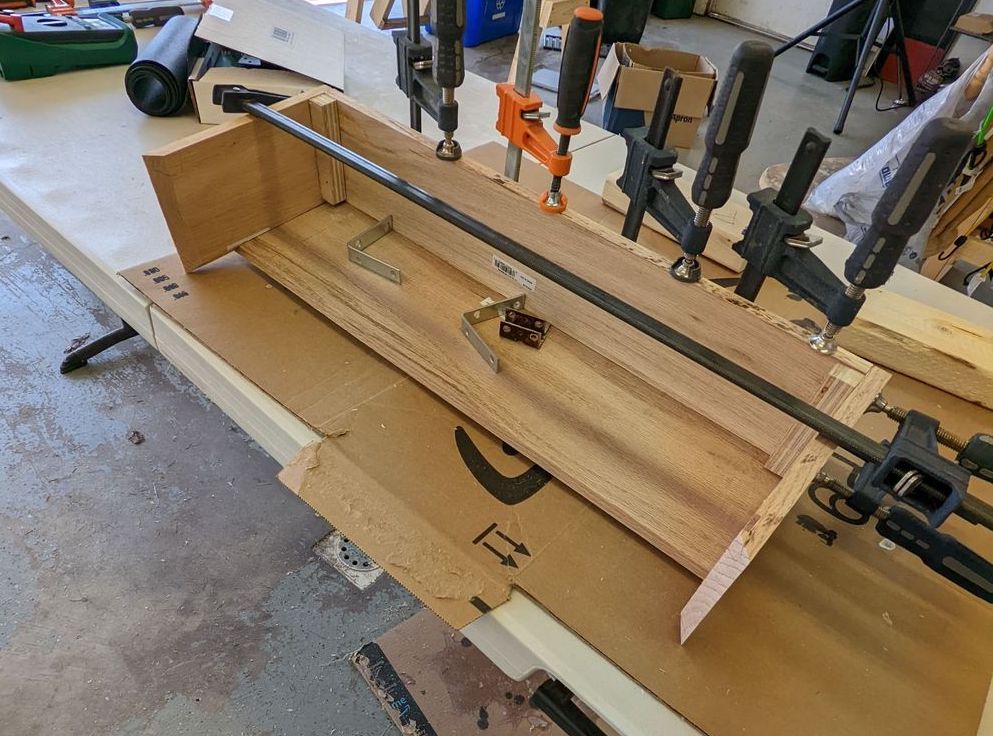
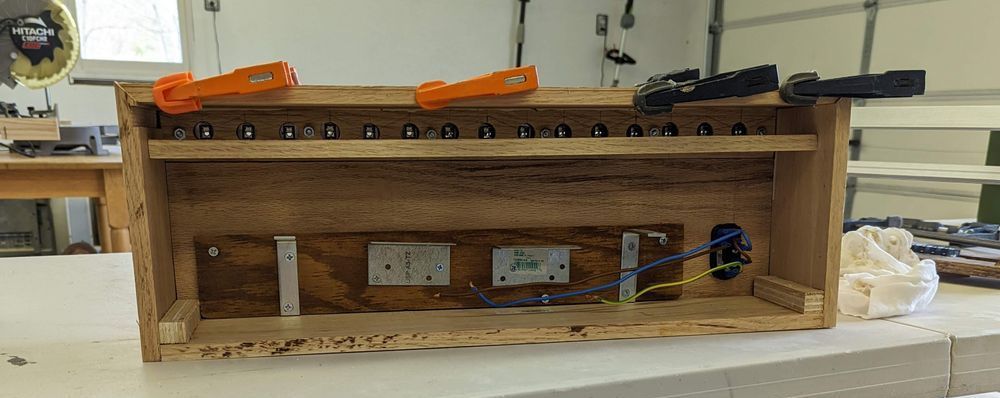
So yeah, basic looking box-type start just to mount the PSUs, leaving room for the power switch. While this was drying up I kept working 'up' the caboose to add another feature layer...
...I wanted to add some very simple I/O to this section; I have been using a Keystep Pro to do some sequencing and clocking with my rig and I hate wrapping long cables from the back of the Keystep to the front of my synth, it always ends up in the way of other modules and is just a mess in general to work with.
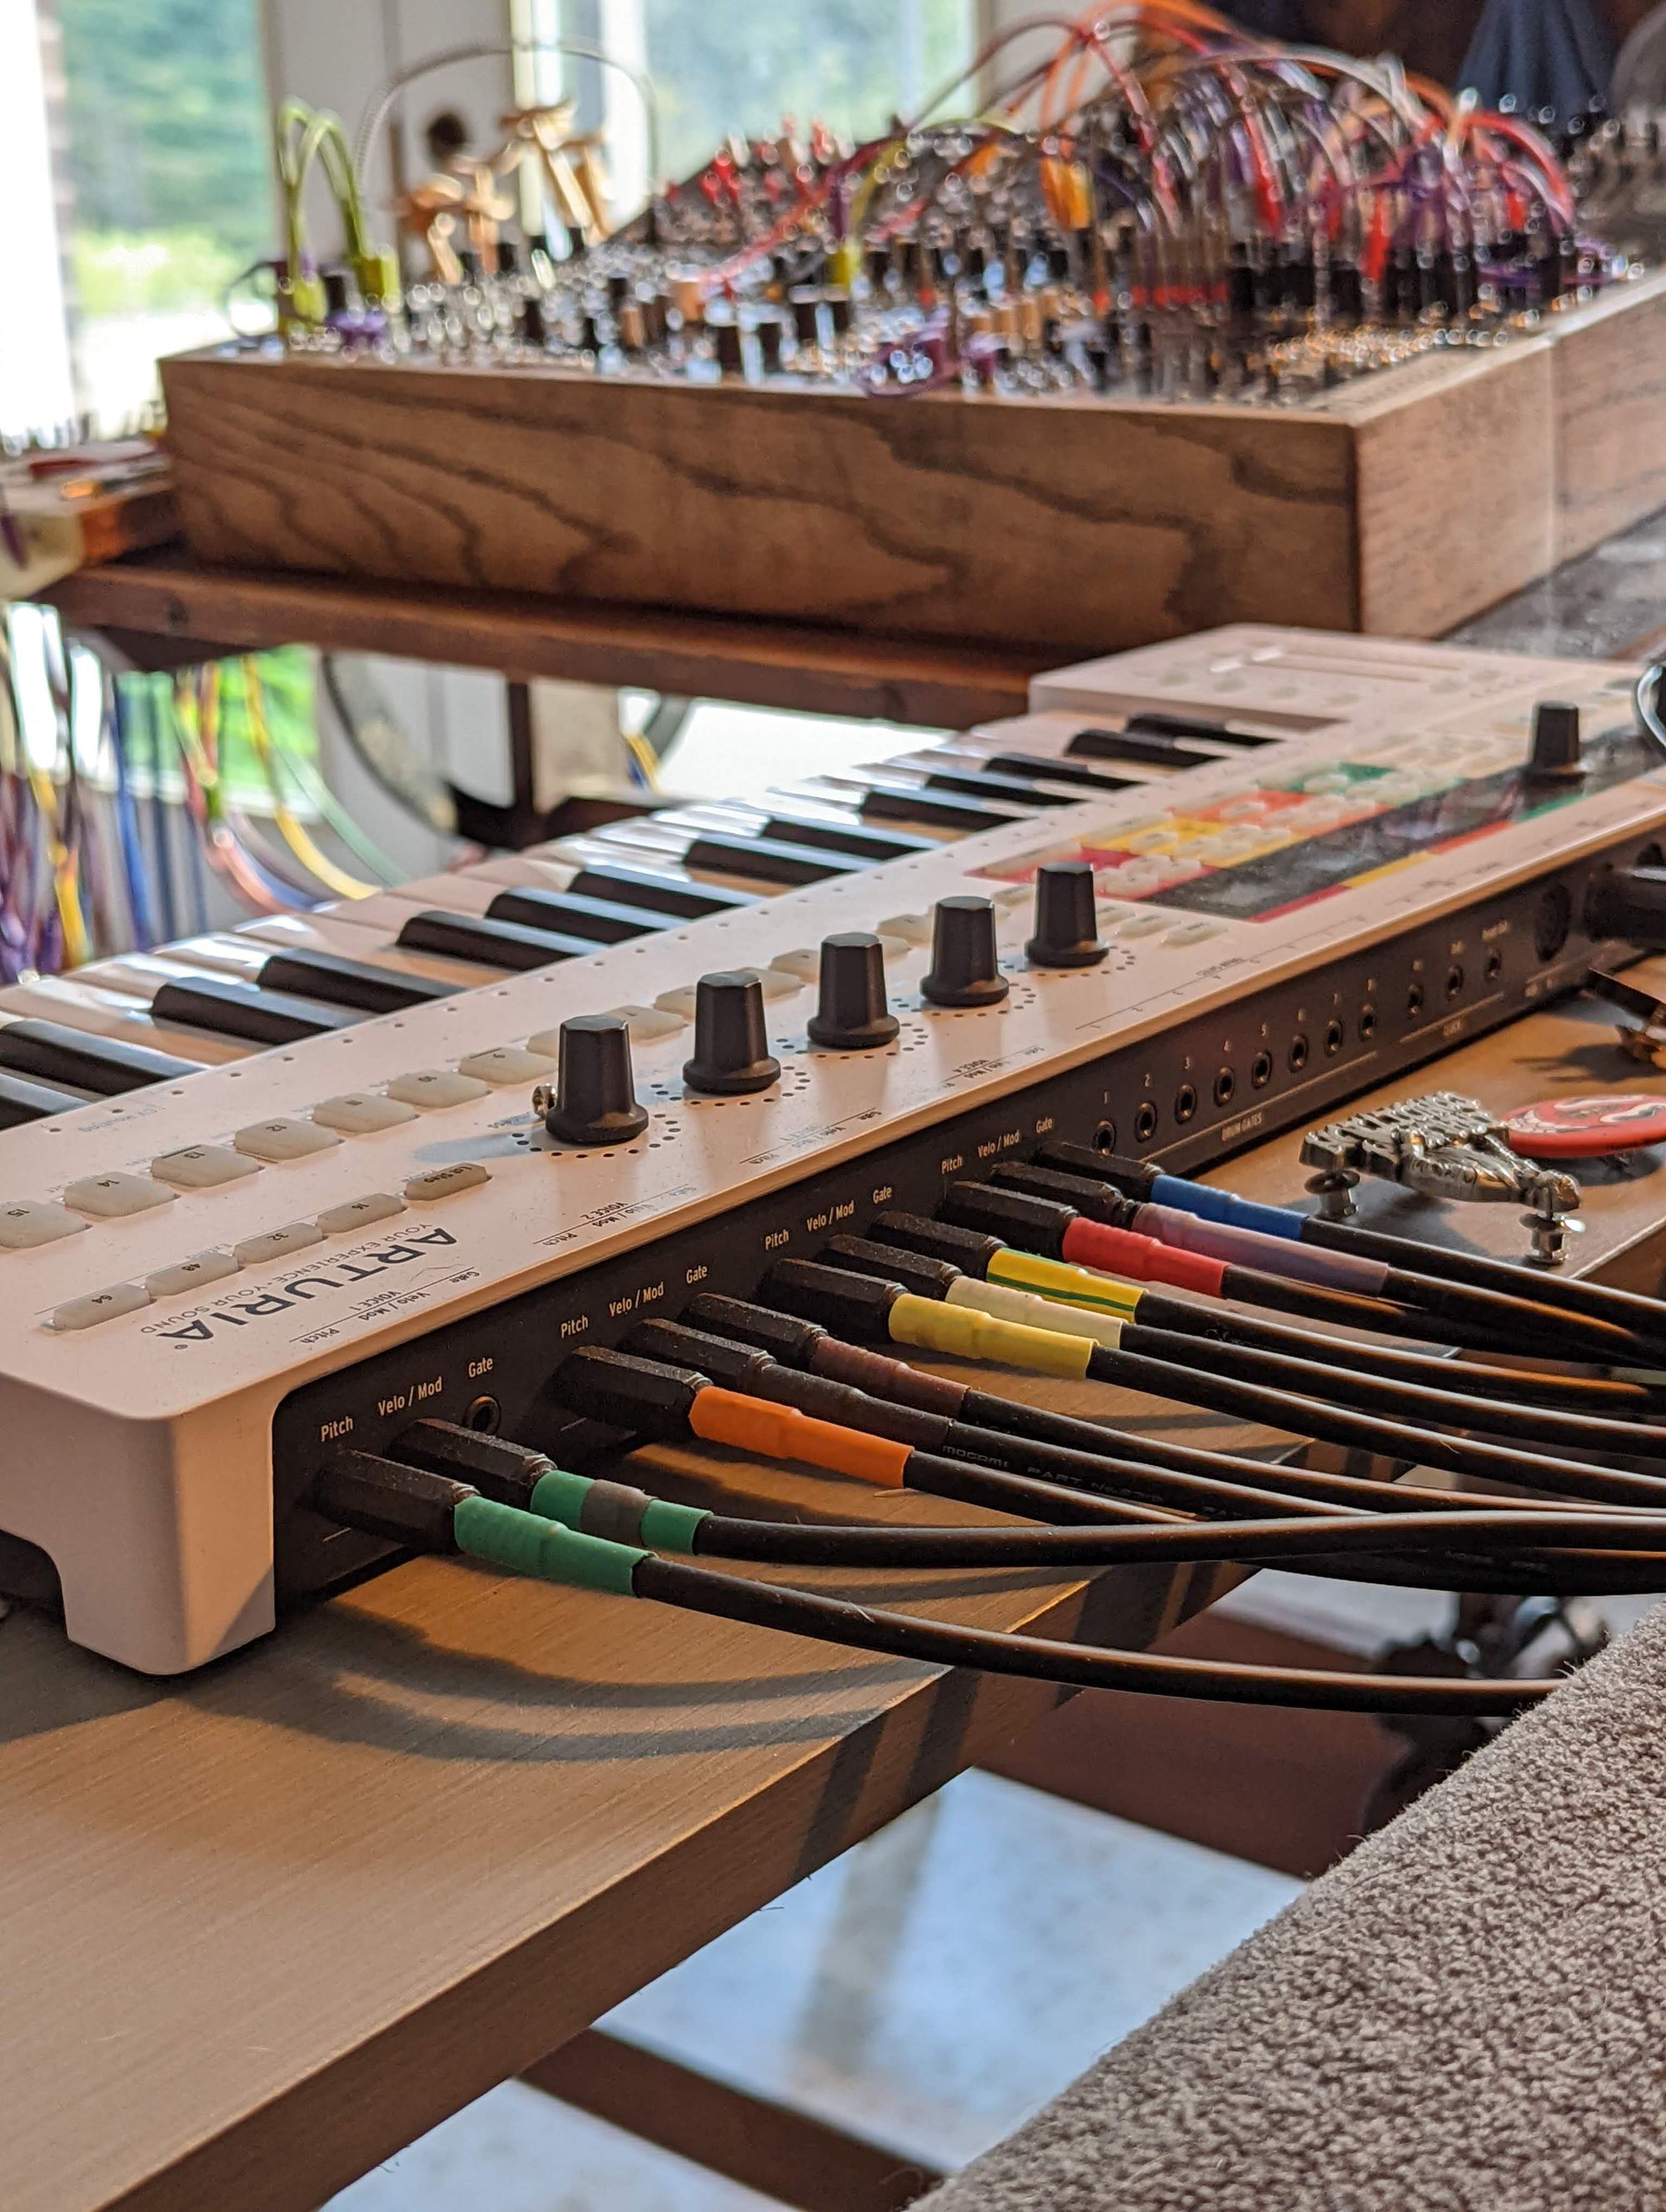
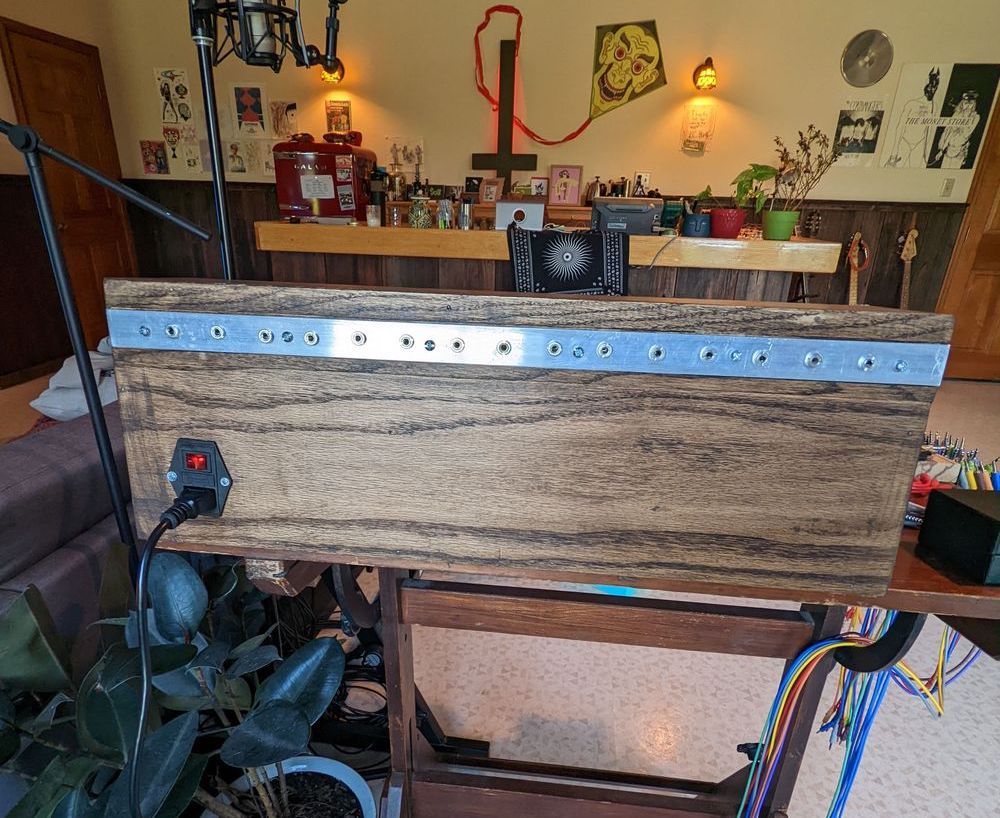
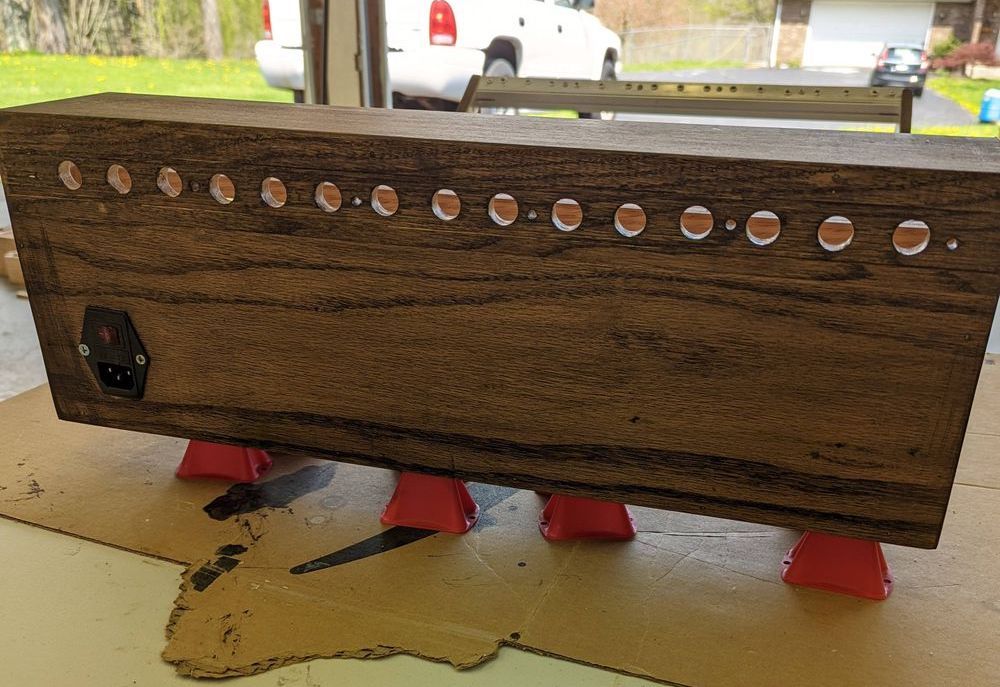
I decided to add a 'simple' strip of 3.5mm female jacks to the front & back of the caboose and will wire them once it's all together – this way I can route cables from the back of the Keystep the the back of the main synth and then patch from the front to keep everything contained.
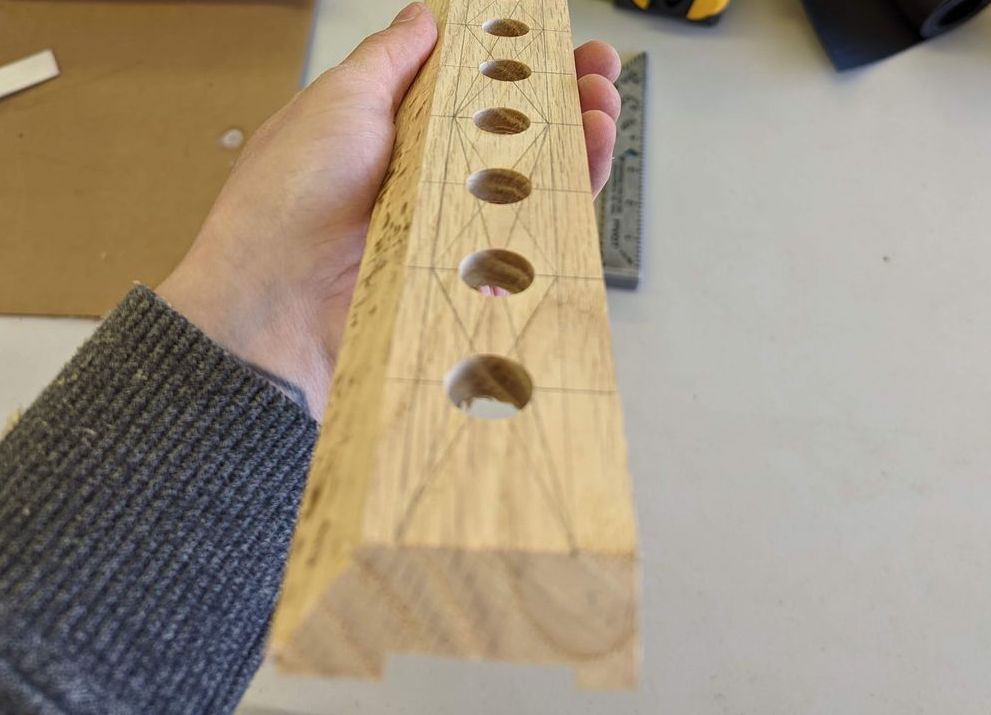
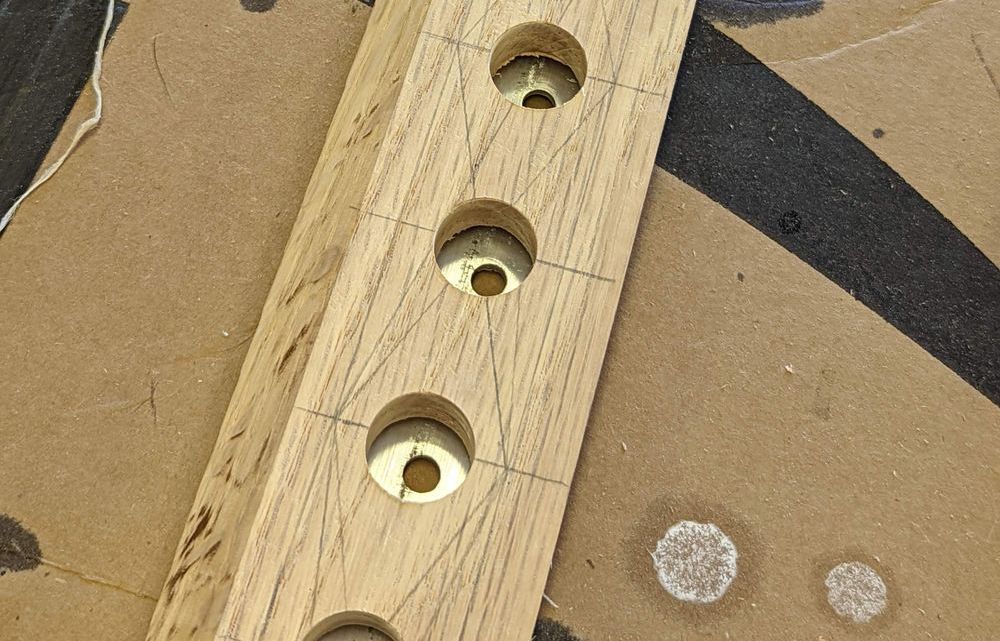
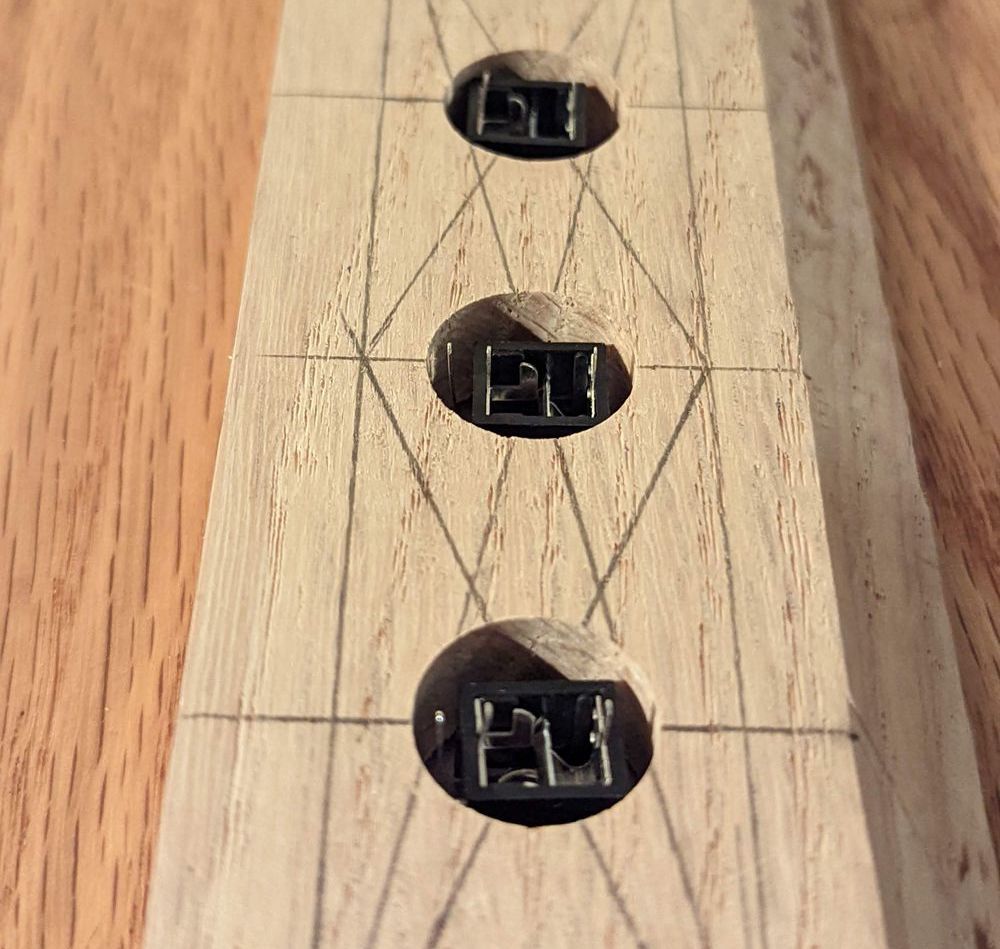
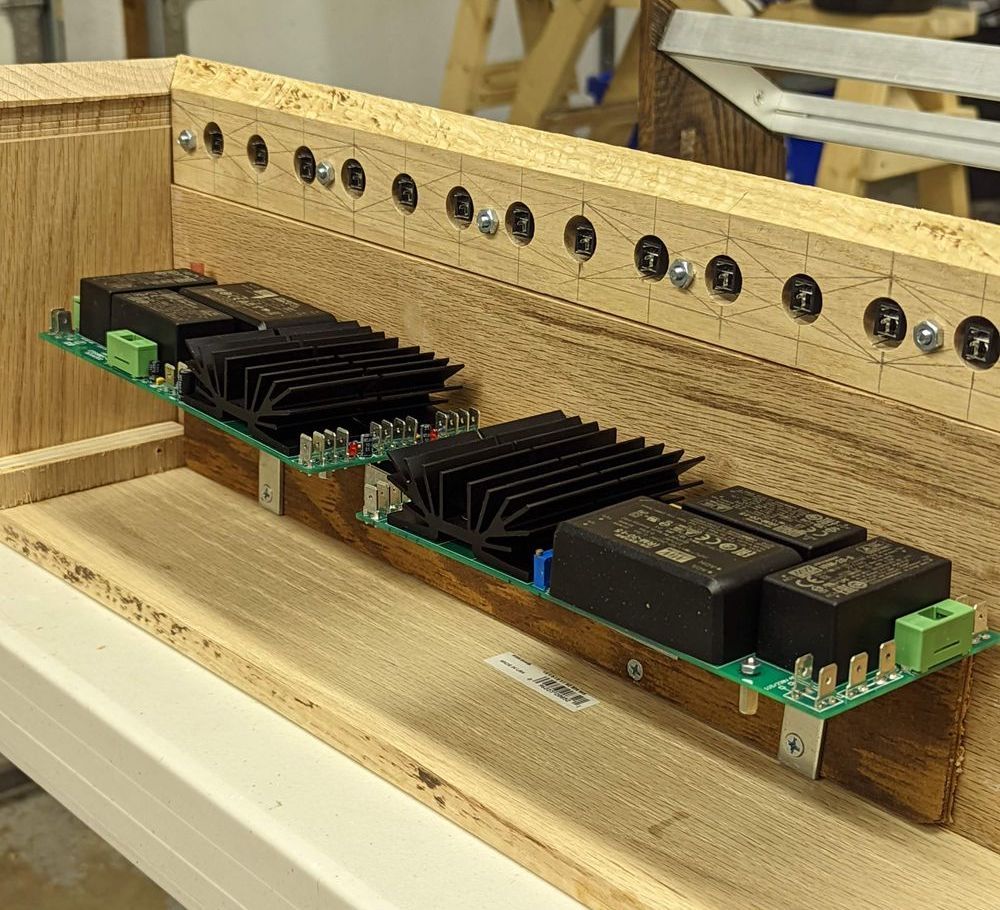
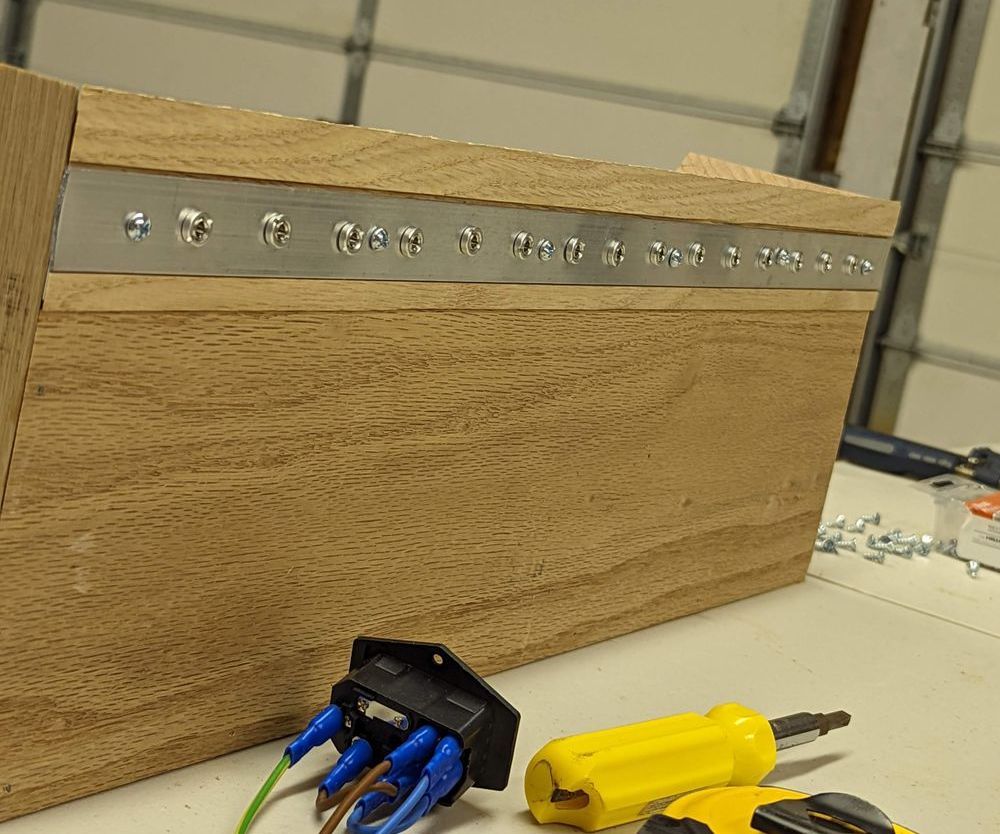
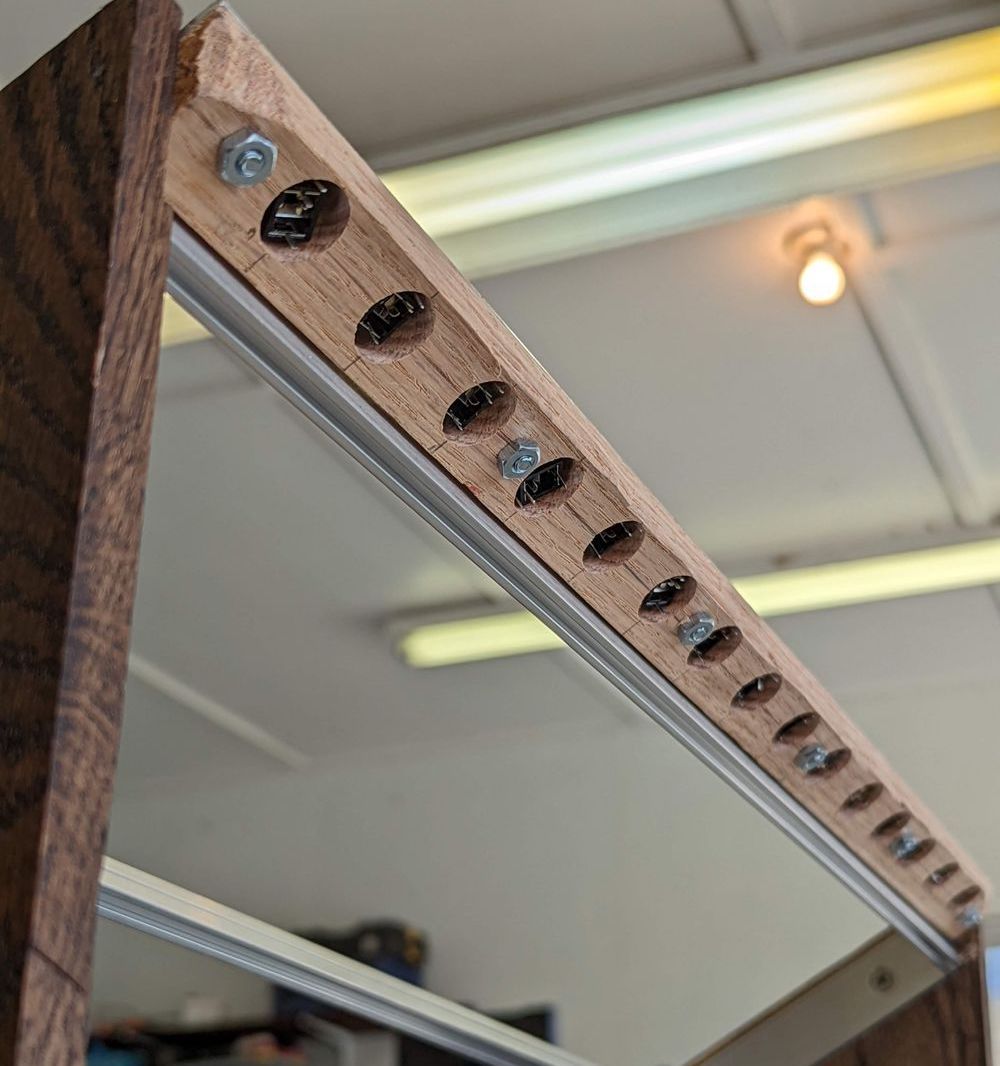
so that's a lot... What I did was inlay some aluminum into a strip of oak (to meet the cheek height of the caboose), drilled with forstener bits through the wood to fit the jacks bodies, then smaller drilling through the aluminum for 'panel mounting' 15 jacks.
I need a fucking CNC machine or something this came out crooked as hell – no matter how much measuring and priming I do I can't make my eyes/hands steady with the drill. It'll work though. I didn't epoxy the metal to the plate or anything so I can always just replace it later if I tool-up.
I stole the switch/fuse from the old Lake from Case box and just installed it on the back side here, making sure it all fit with the PSUs.
You might notice I added a very thin scrap of wood to mount the PSU brackets on – this was just to give a little padding between that back wood panel and the heatsinks. There was also an upper horizontal support added to support the upper ends of the cheeks, was missing that from the rails!
Then it was just on to topping it off
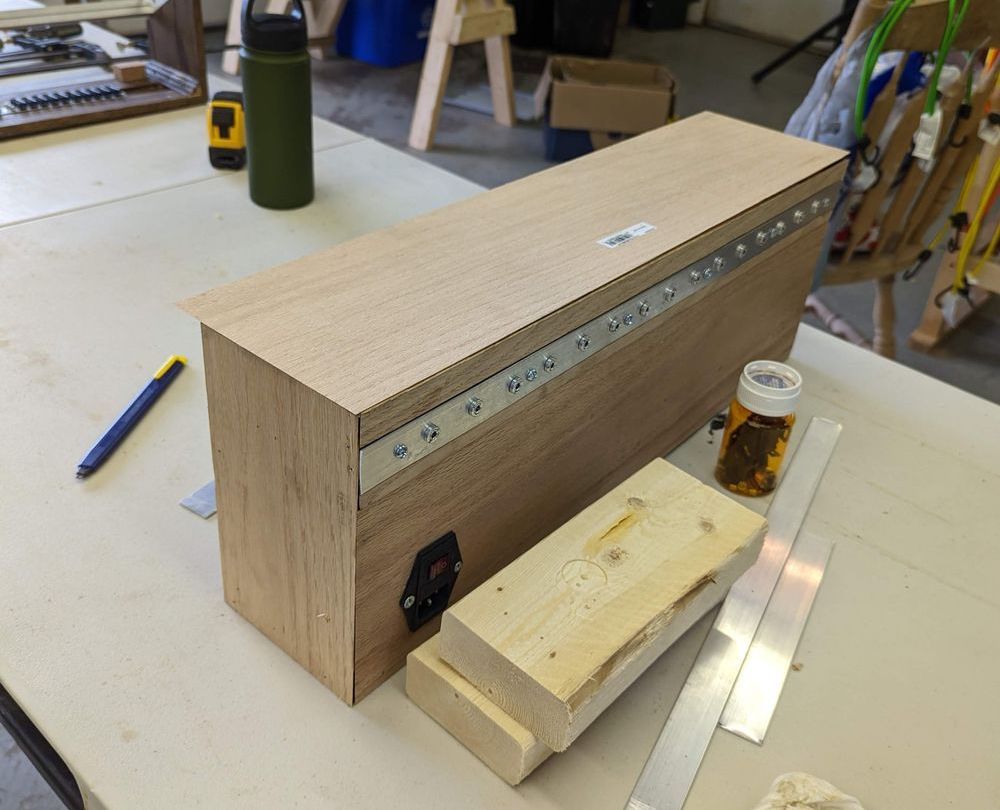
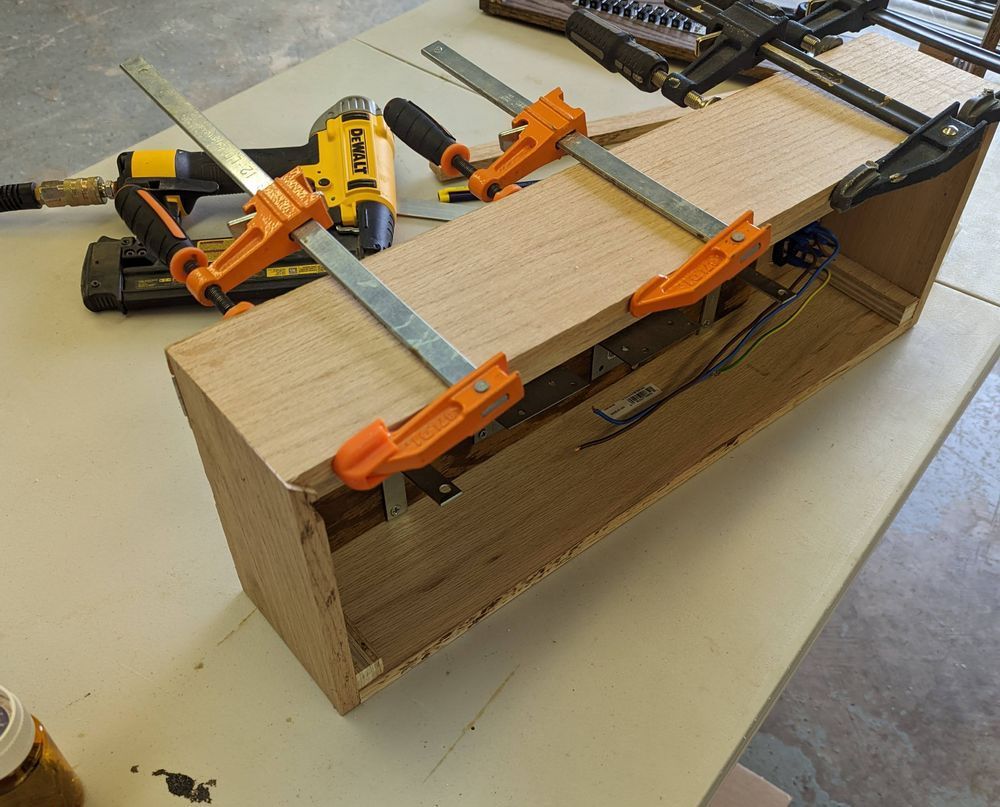
and starting the whole several-day 'finishing' process – I removed the aluminum I/O strip for this part rather than try to tape around it. Sanded from 80 to 220 and threw on that stain.
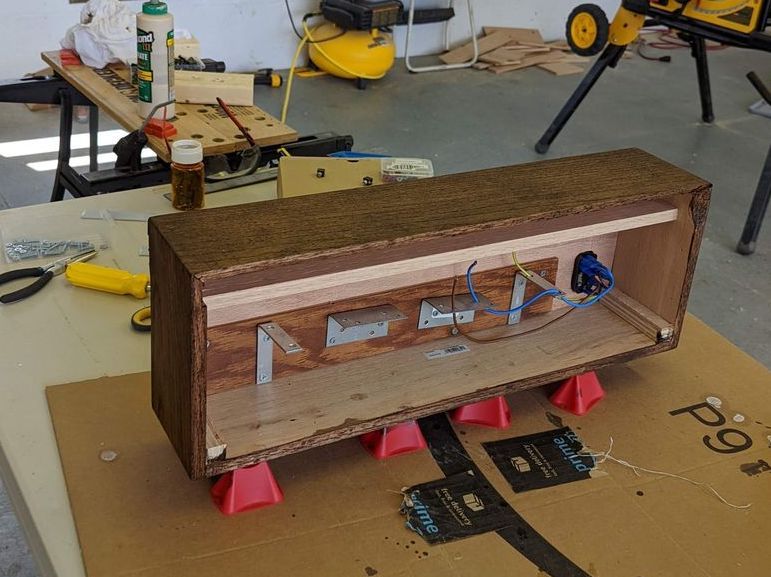
while that was drying off and getting poly coats, I got to making the 'front' I/O panel that was just being attached to the 60 degree row. It extends a bit past the actual cheeks, so I made sure the chisel down the edges of the I/O strip and the caboose to make sure it would fit alright.
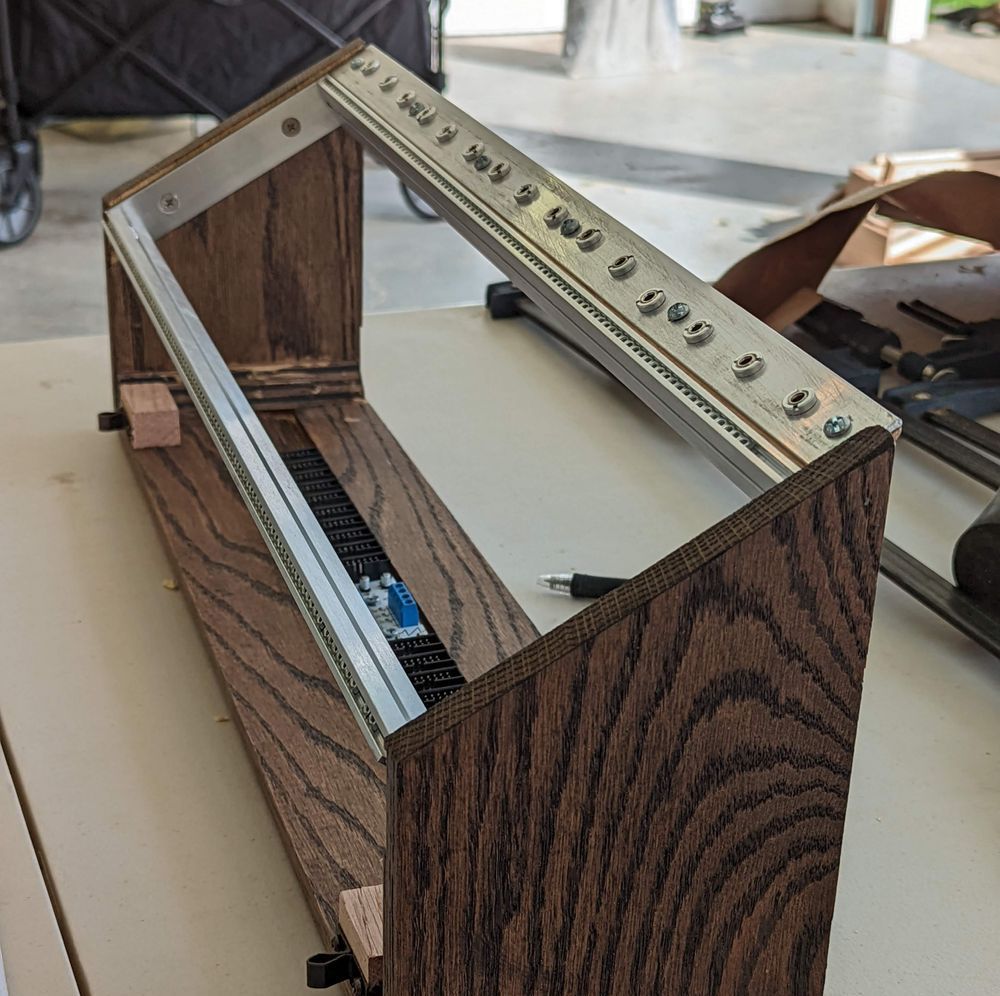
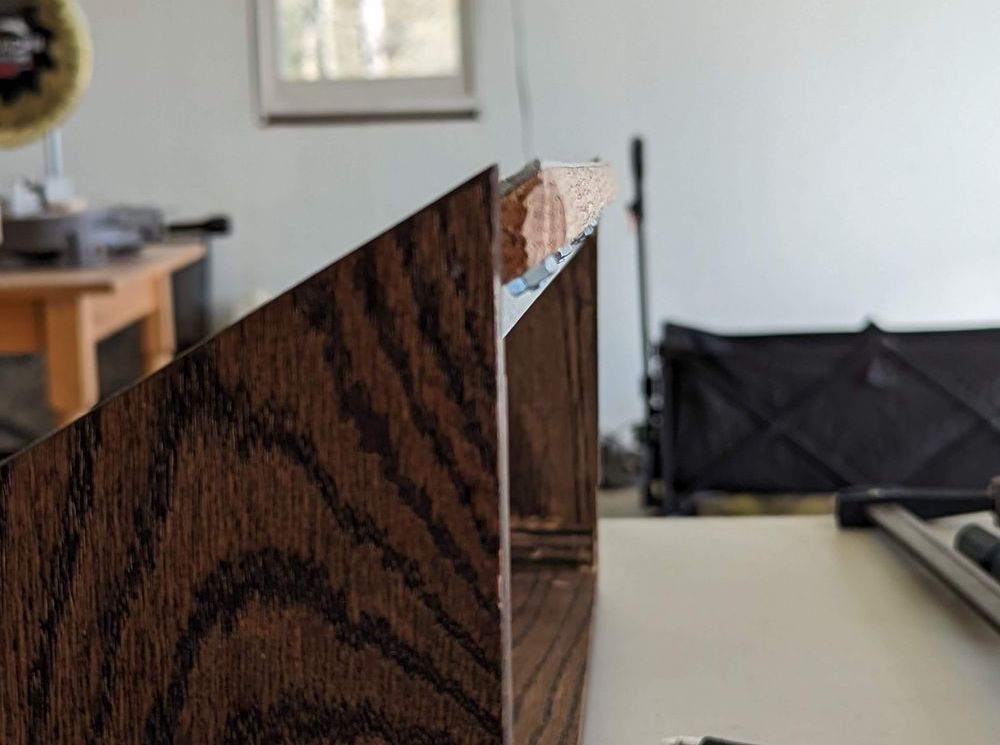
there was some more boring stuff to do related to power while this was all settling – (power) cabling.
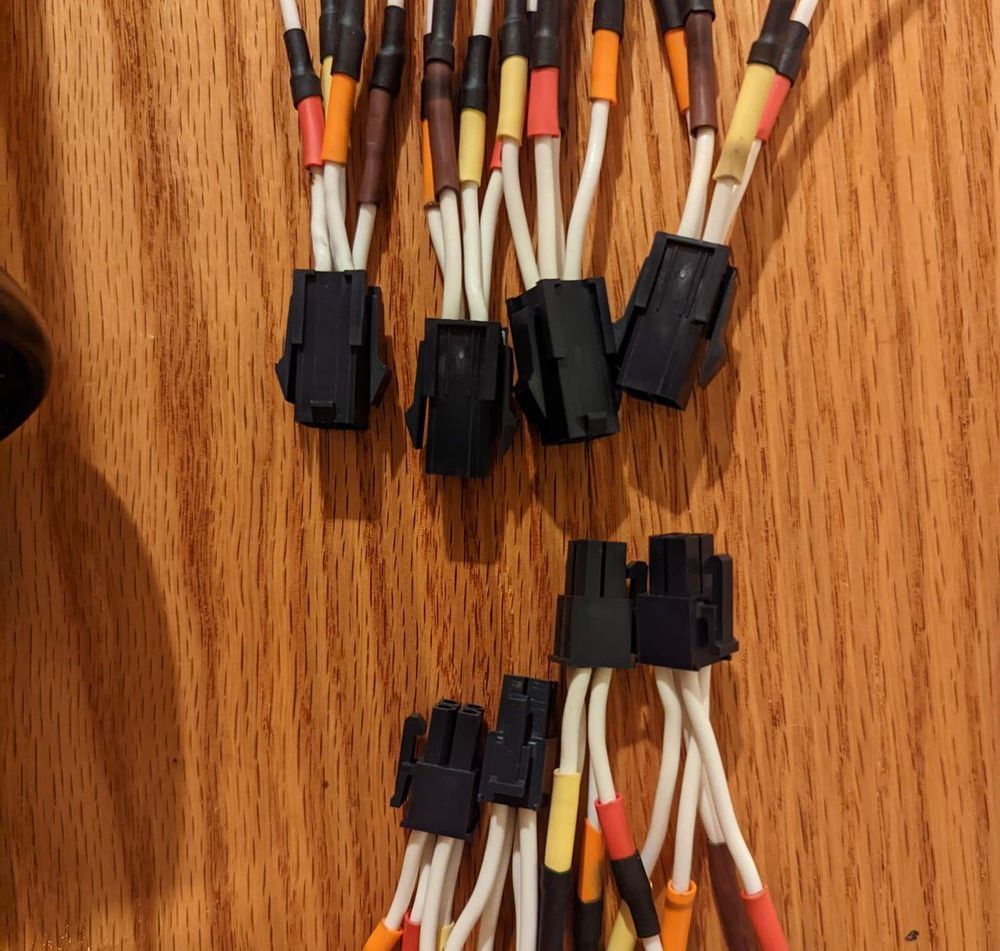
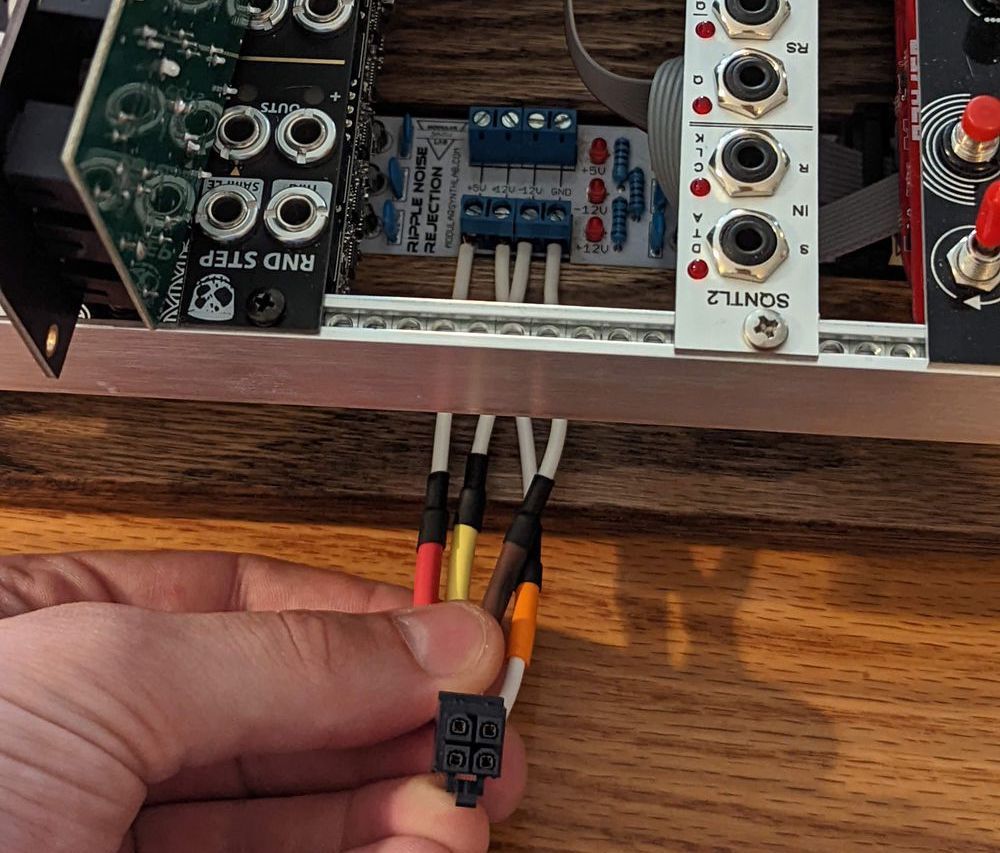
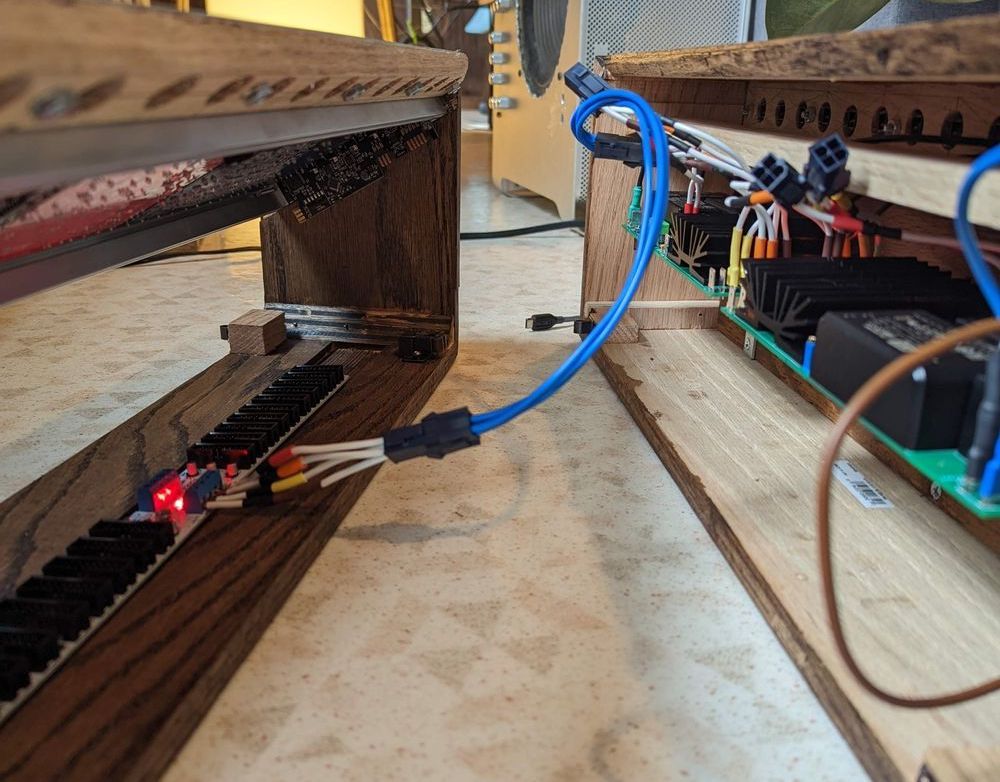
Bought some 4pin molex connectors and gave every row its own connector, then 2 opposing connectors for each PSU so that each PSU is powering 2 rows all from a 'star' power configuration (rather than daisy-chaining power busses which honestly was my original plan but I think this is a better choice).
Then I had to make different lengths of molex cables to connect rows to the power caboose. Color-coding you see here is my own system I keep consistent for breadboarding, etc, and then translate everything else to...not ideal but there are so many standards to deal with I find this easiest for me.
Internal Patching
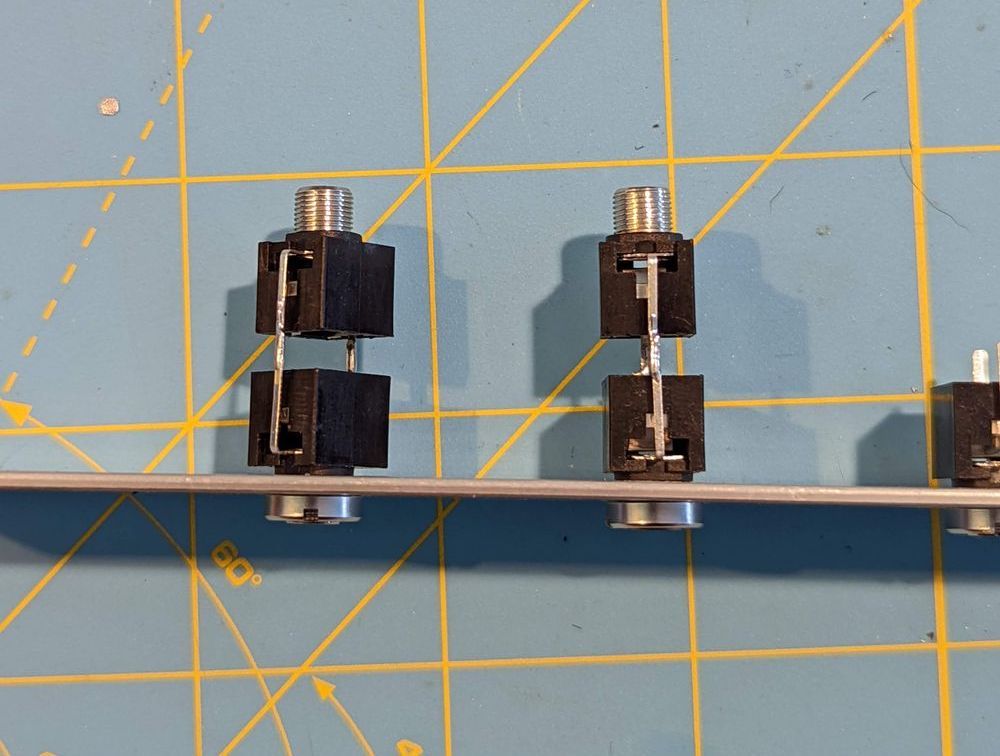
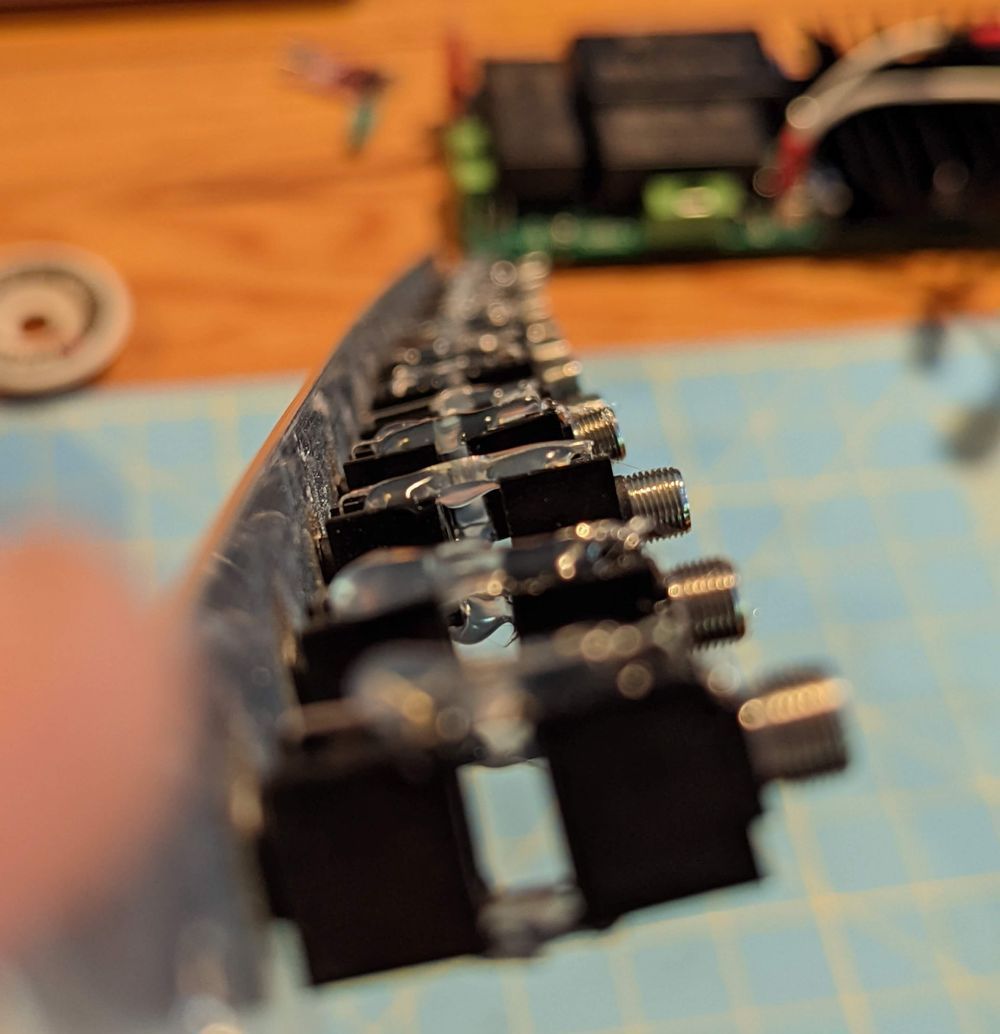
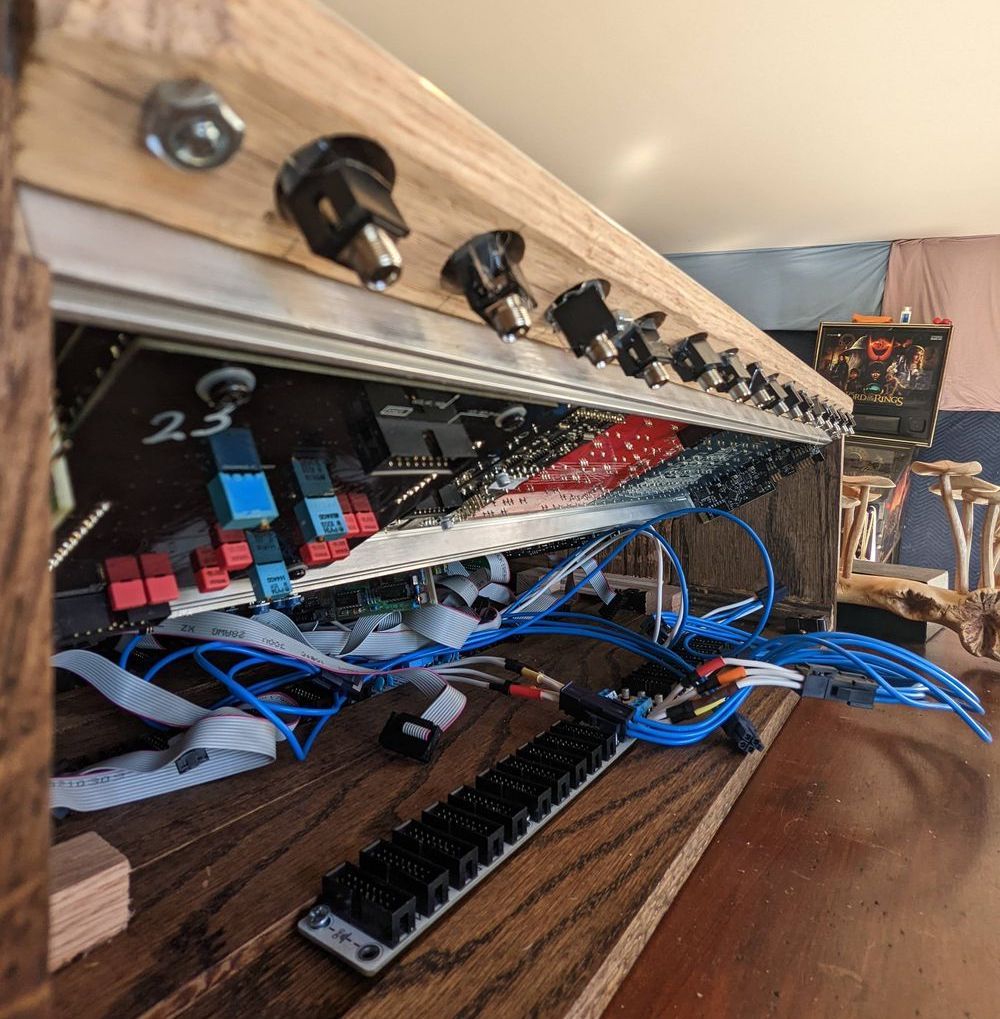
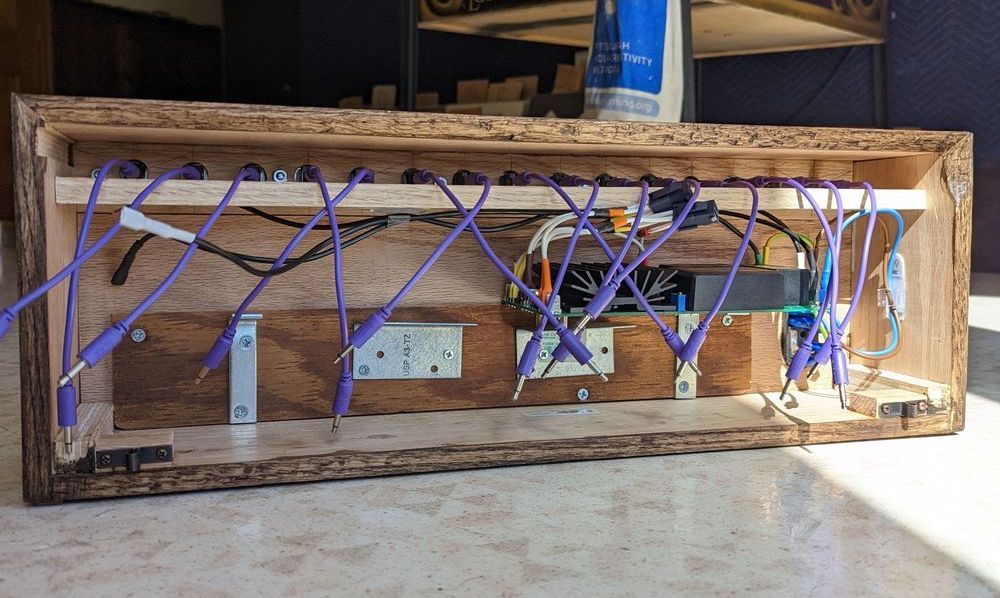
Juuuussssttt as I was piecing this all together at the end I realized that I had kinda just planned to use shielded audio cabling to just wire the I/O strip from the caboose to row 4.....which would kind of couple those two rows in a very annoying way which kind of spat in the face of the whole spirit of the case.
Couldn't live with it, grabbed a ton more mini-jacks and directly soldered them to each existing jack in the strips so they could be 'internally patched.' Both aluminum I/O strips got this addition with the help of our good good friend, load bearing hot glue.
Completion and lessons learned
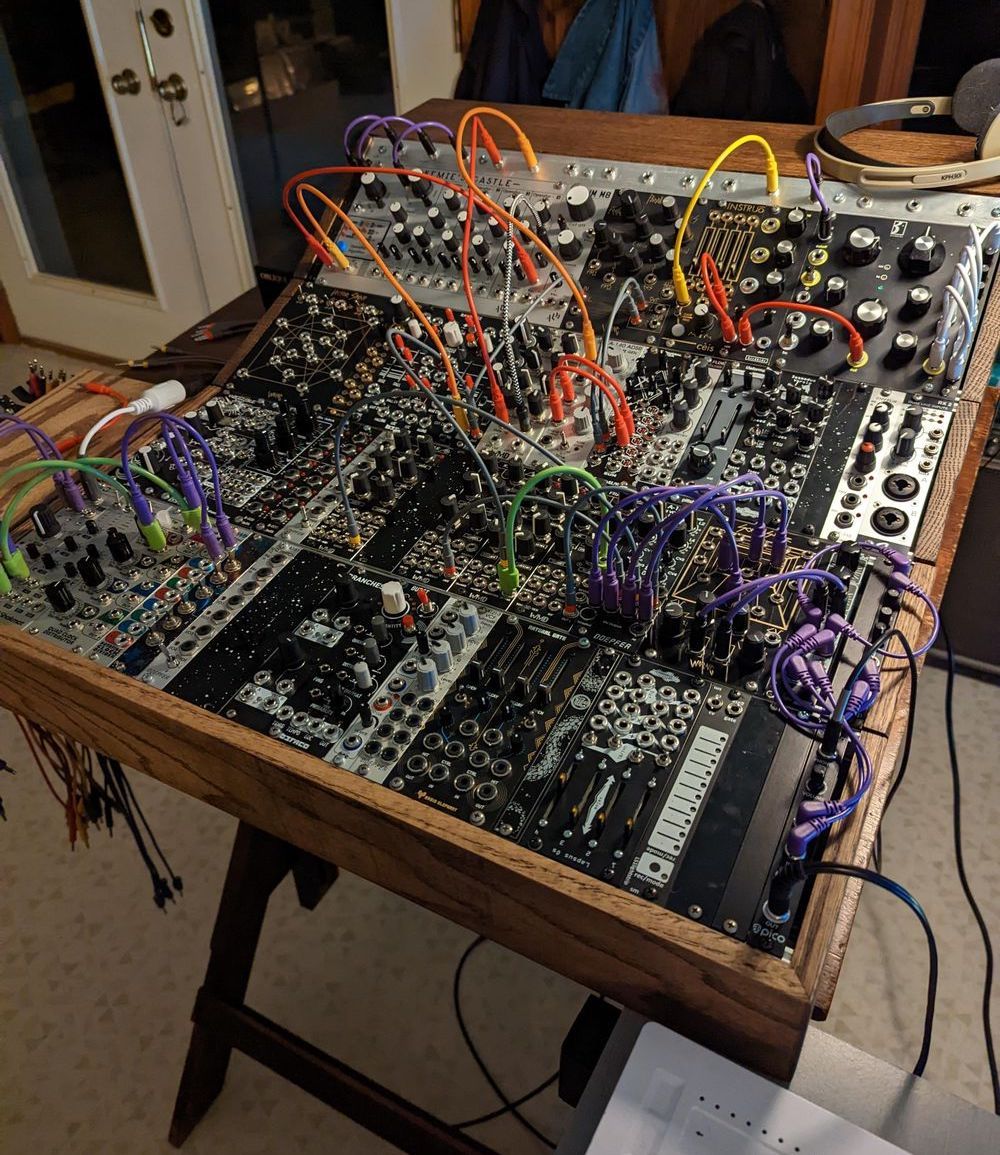
I. DID. IT. Learned a ton about my tools and working with hardwood here. I think unfortunately and unsurprisingly one of my larger takeaways is that jointers & planers are necessary (they are also expensive). I made it work with the wood I could find, though!
